Building a bug bivy
I designed and sewed a net tent / bug bivy (the border between those two is thin here). This was my first time designing a piece of outdoor equipment, and also my first time sewing. In this article, I’m starting with a presentation of the finished product, then I go in a quite in-depth description of the creation process. If you’re in a hurry, the Finished Product Presentation should be enough !
Table of Contents
- Table of Contents
- Finished product presentation
- Project story
- Designing the shelter
- Making the shelter
- Conclusion
- Ressources
- Comments
Finished product presentation
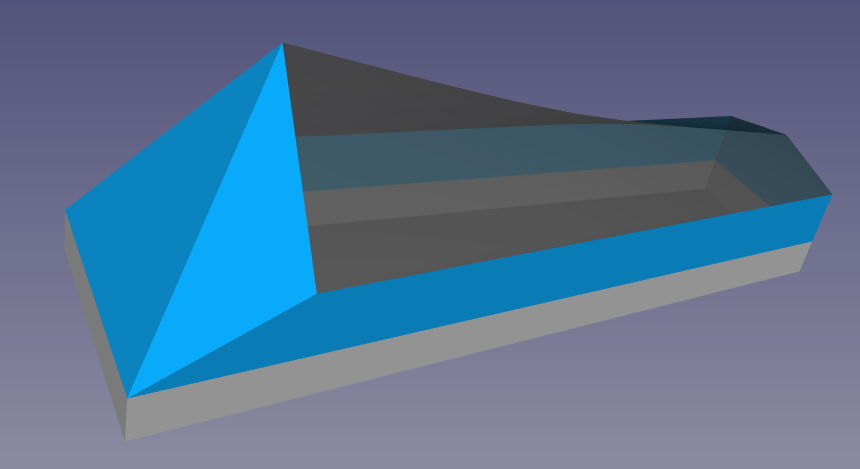
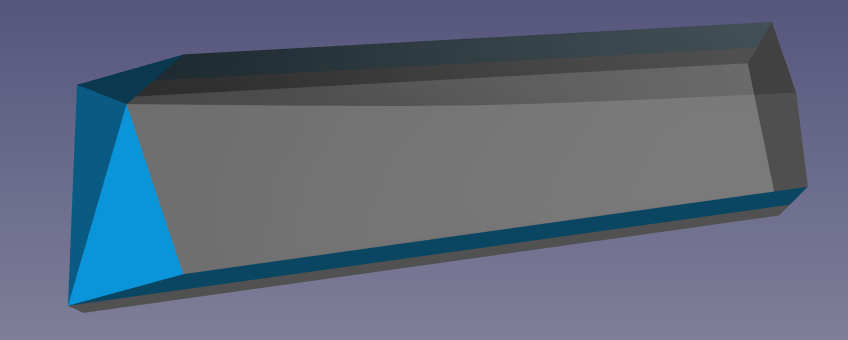
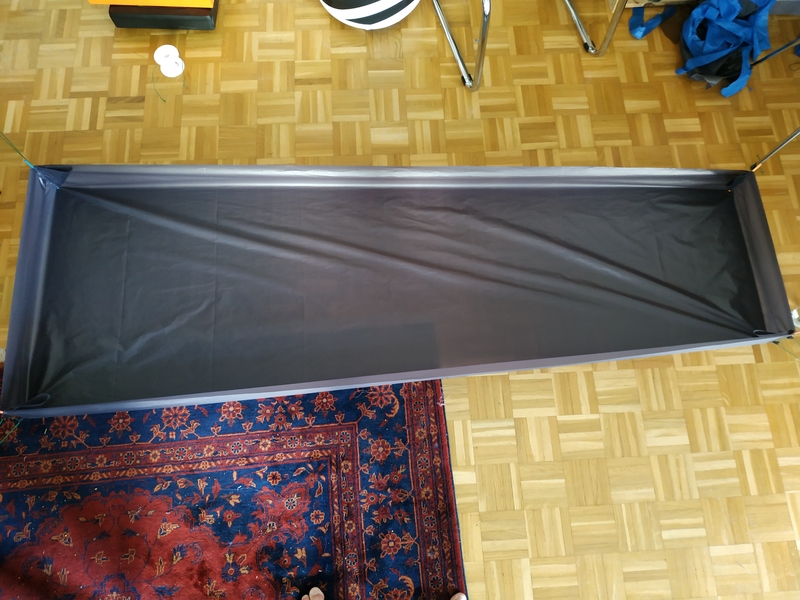
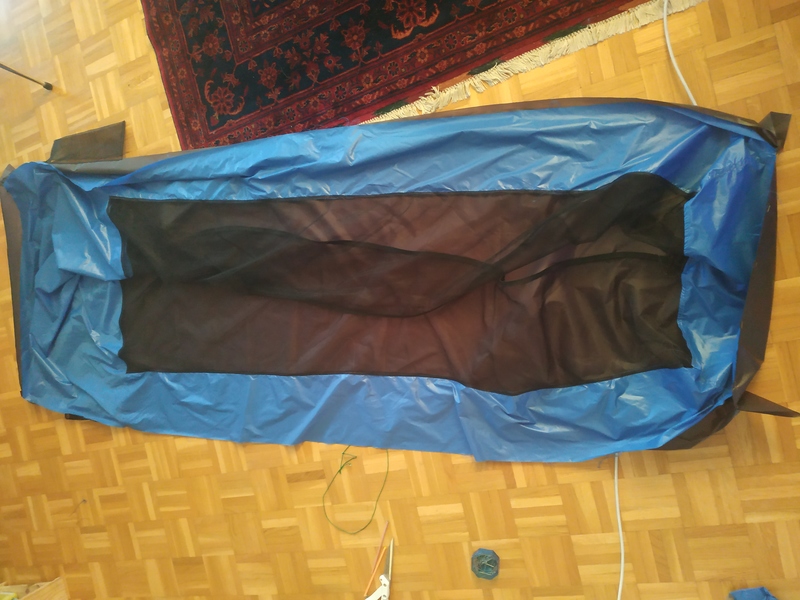
I made a shelter to keep ticks out, and ease transition to tarp camping. This shelter is at the limit between a net tent and a bivy bag. It’s a clone of the MLD Bug Bivy 2 . The shelter is intended to be used under a tarp.
The shelter was entirely designed in FreeCAD before any sewing took place. You can access all the CAD files on github.
The shelter was then sewn and made a reality.
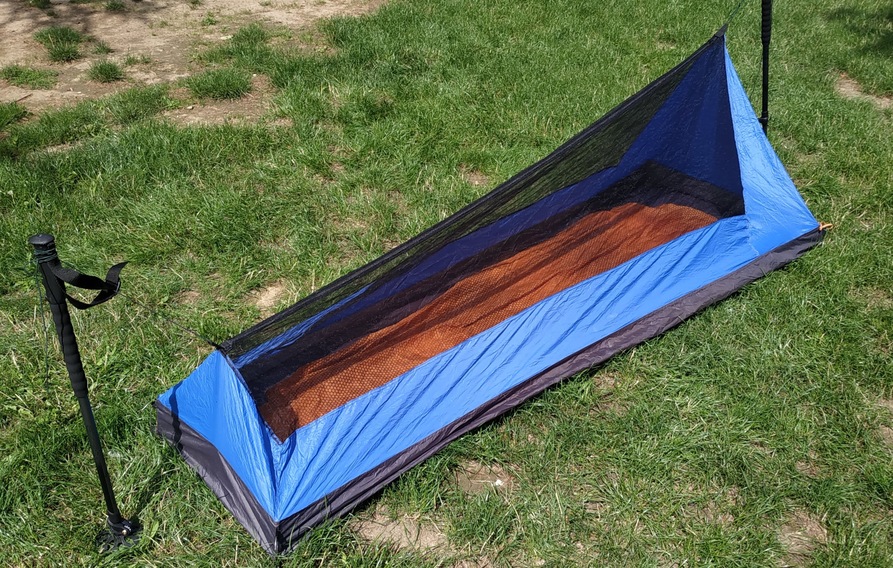
(On the photos, the orange thingy is my mattress I put inside the tent).
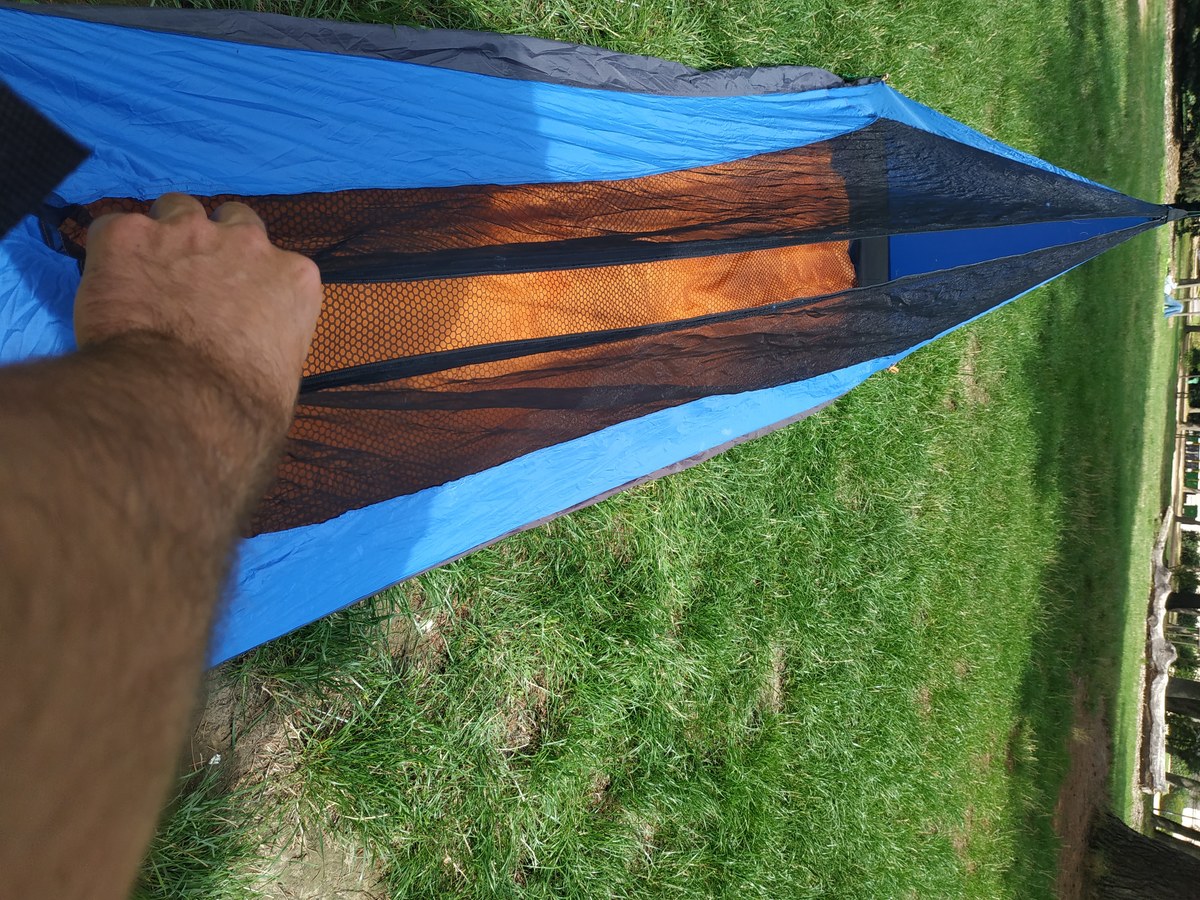
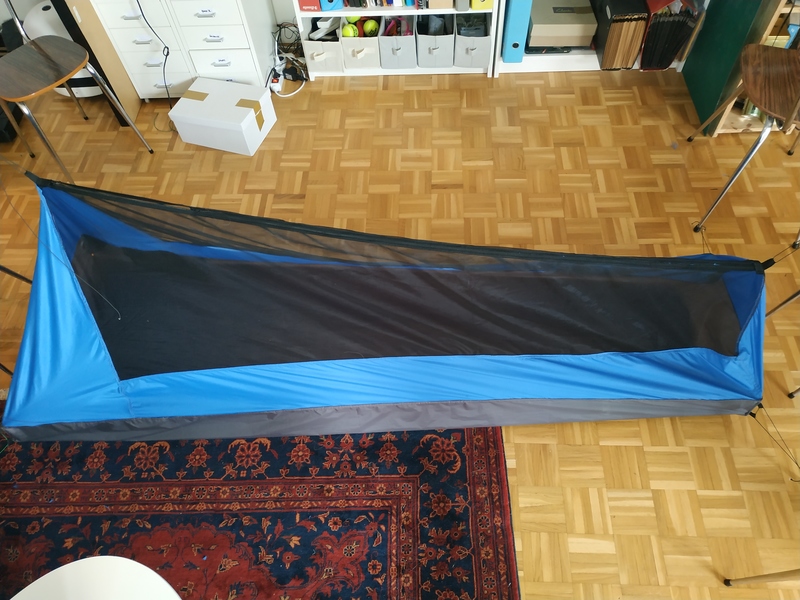
The tent is made of a waterproof bathtub (grey fabric), water resistant and windproof sides (blue) and netting.
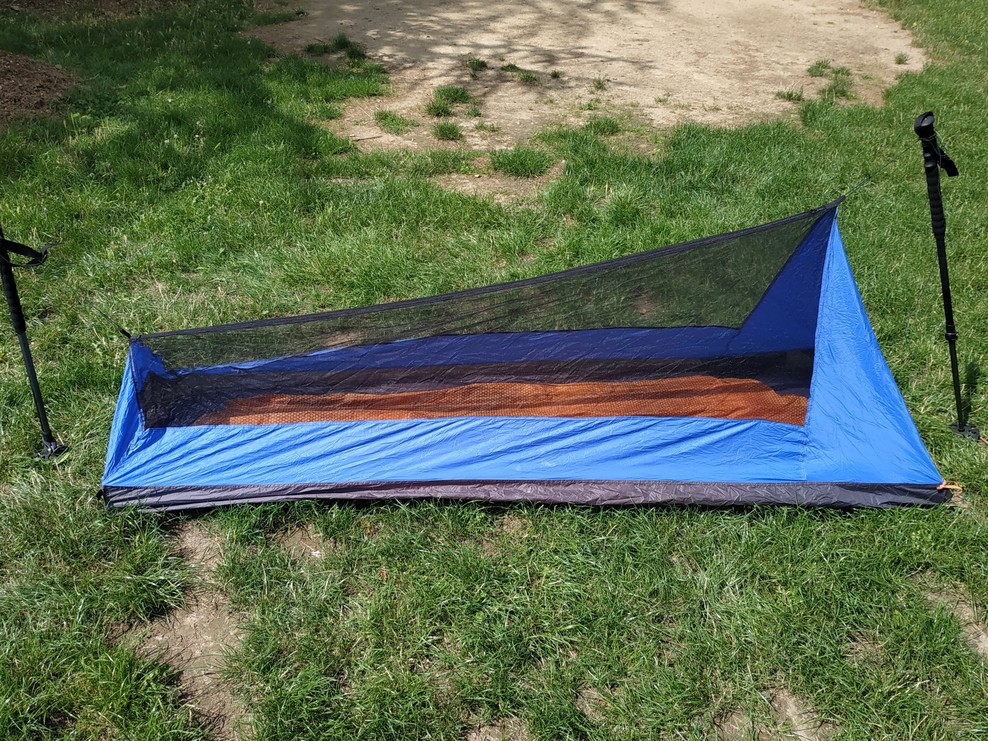
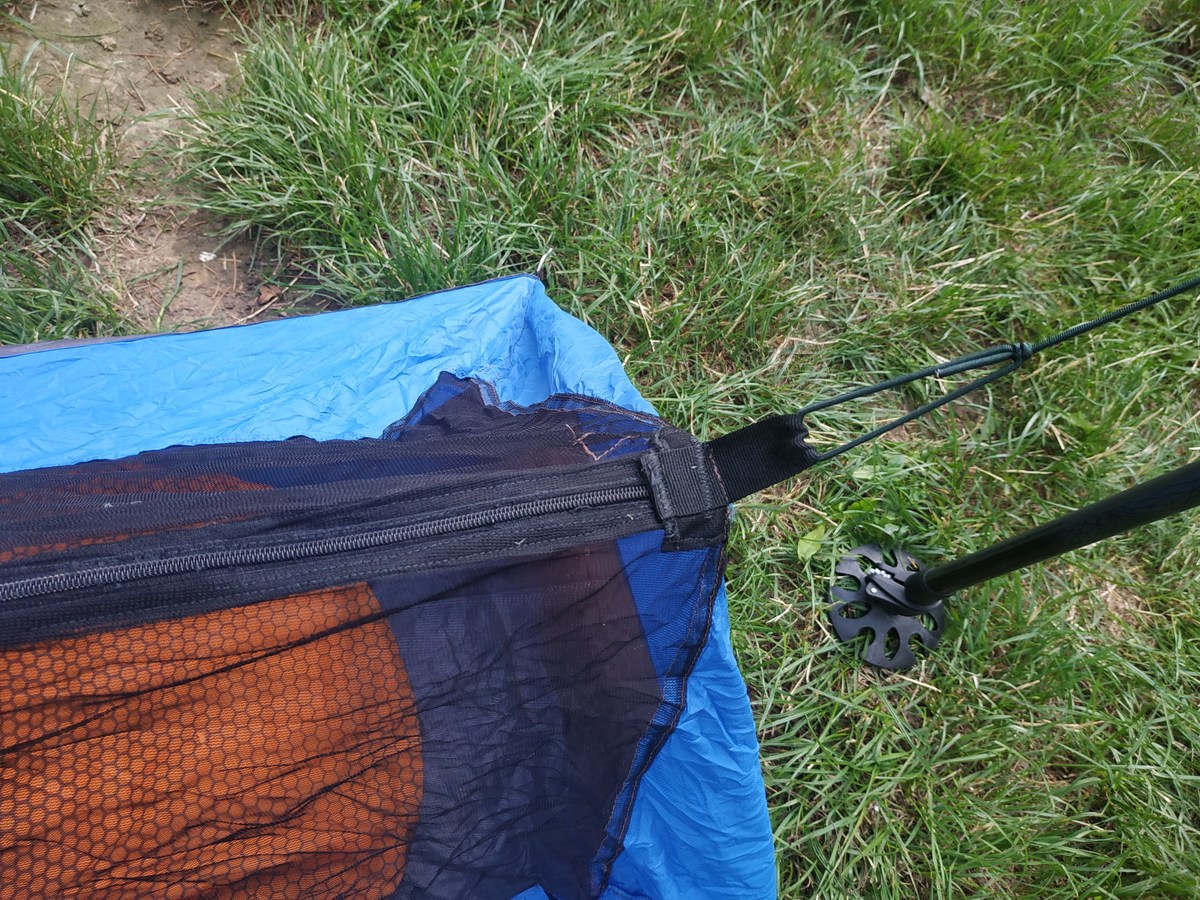
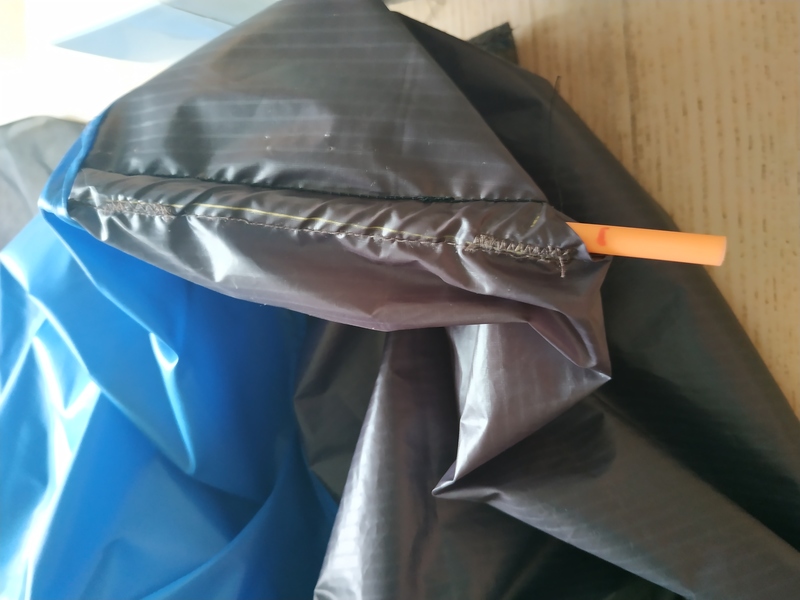
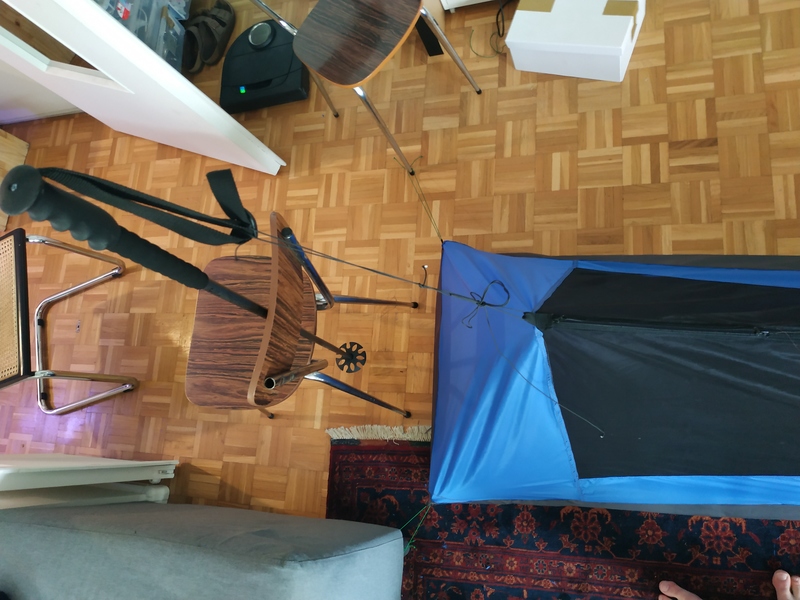
The bathtub goes generously high, and small struts at each corner help it keep its shape. There are also two loops at each corners to pitch the tent tight, even though it’s not and obligation to use it.
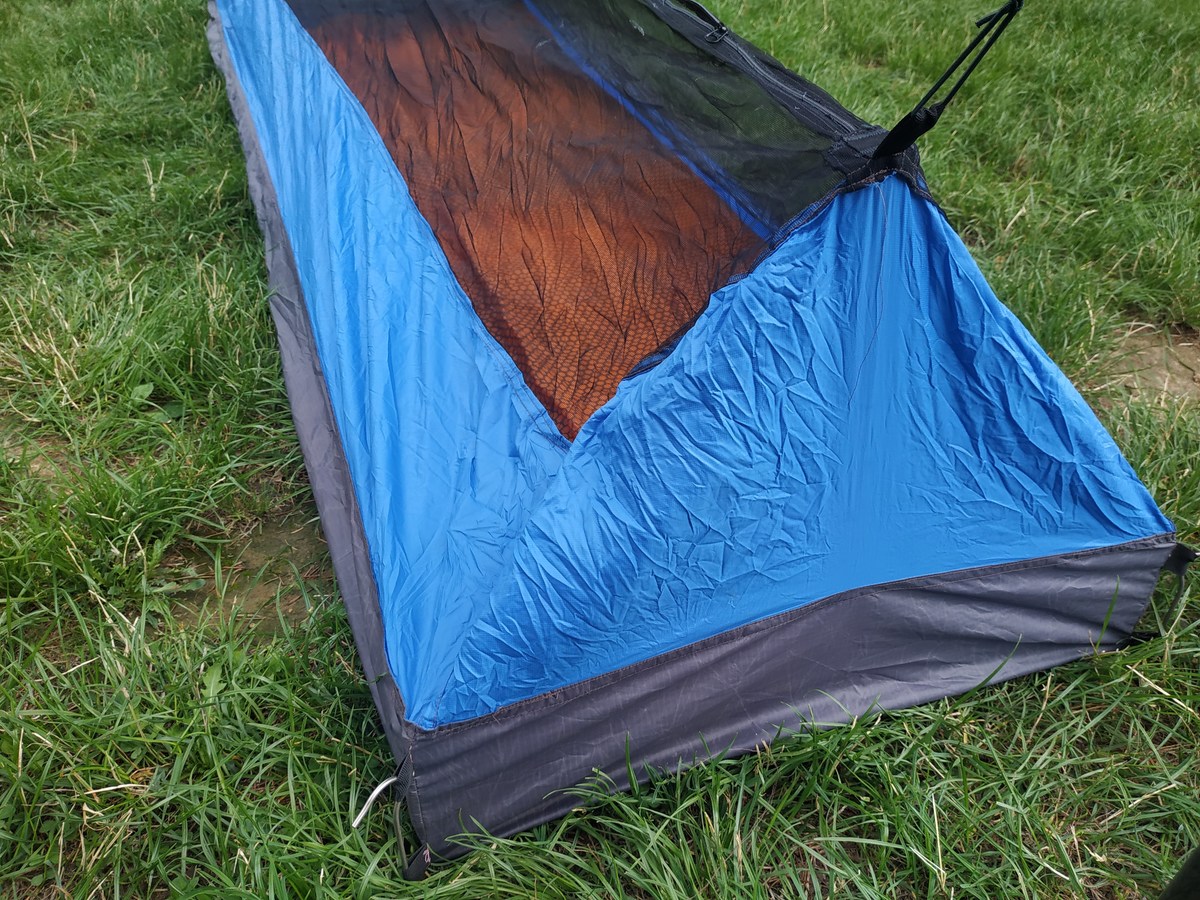
There are two attachment points at head and feet that can be used to ensure that tent fabric does not rub in your face.
This allows to provide “ample” headroom. I spent some time reading in it(on my back, on my elbows) and it was confortable enough.
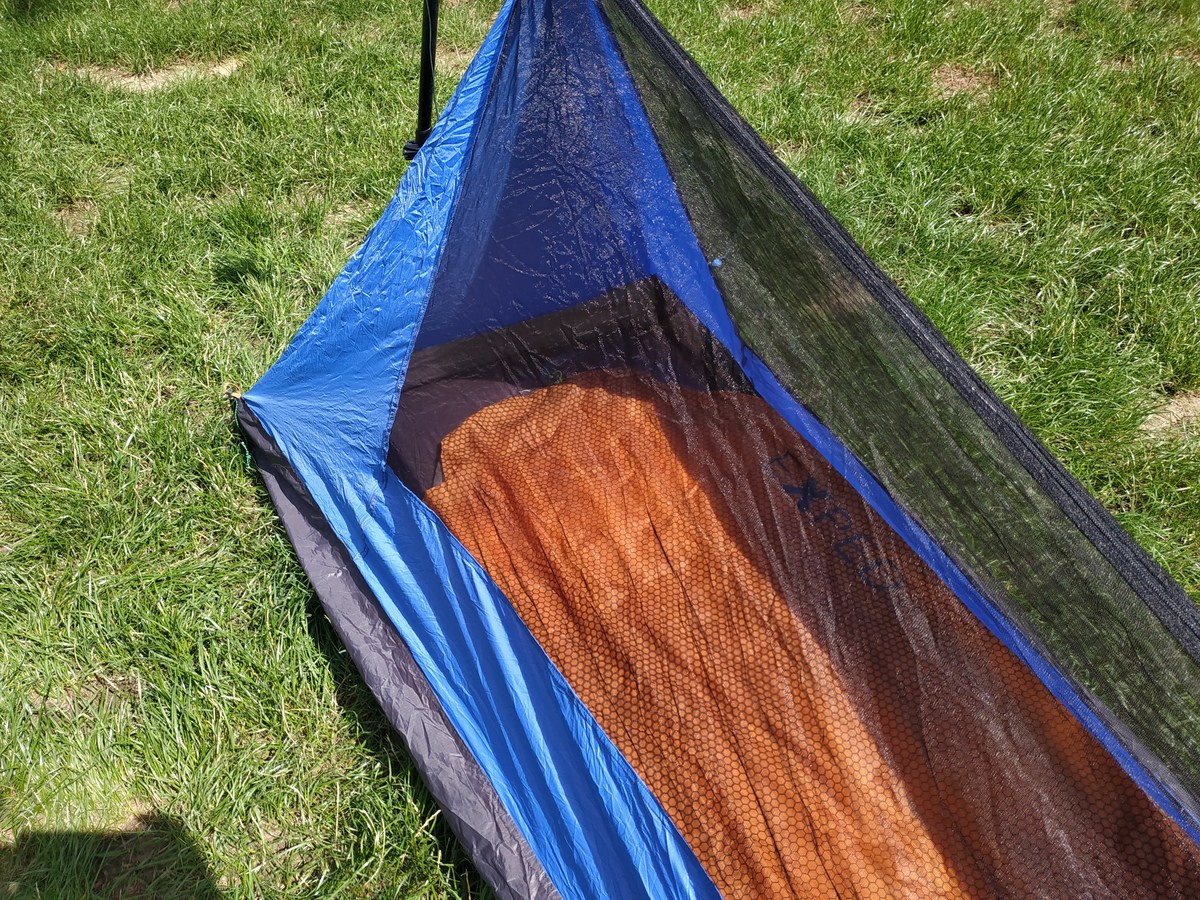
Windproof (and water resistant) fabric goes all the way up above and around the head, providing additionnal shielding from the elements under a tarp. Feets are also protected all the way up

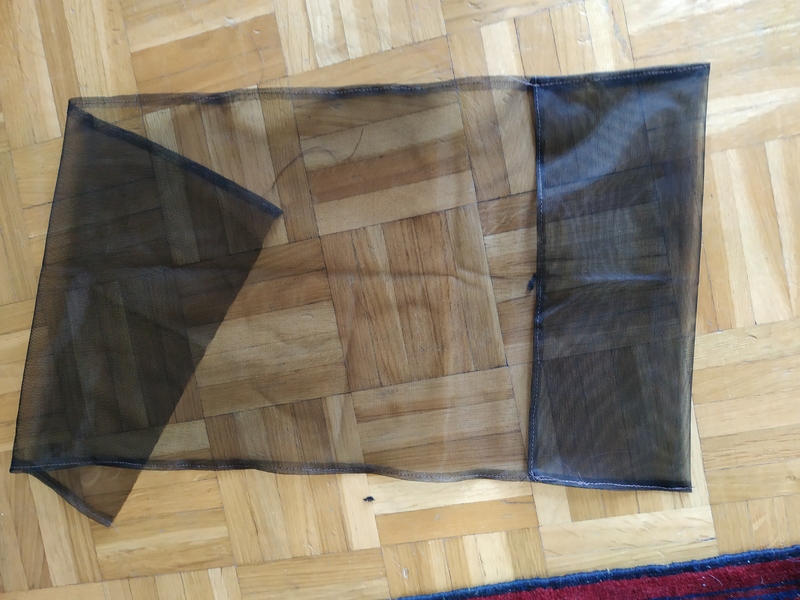
The rest of the shelter is made of netting pannels, which provides good ventilation and a nice view of the outside !
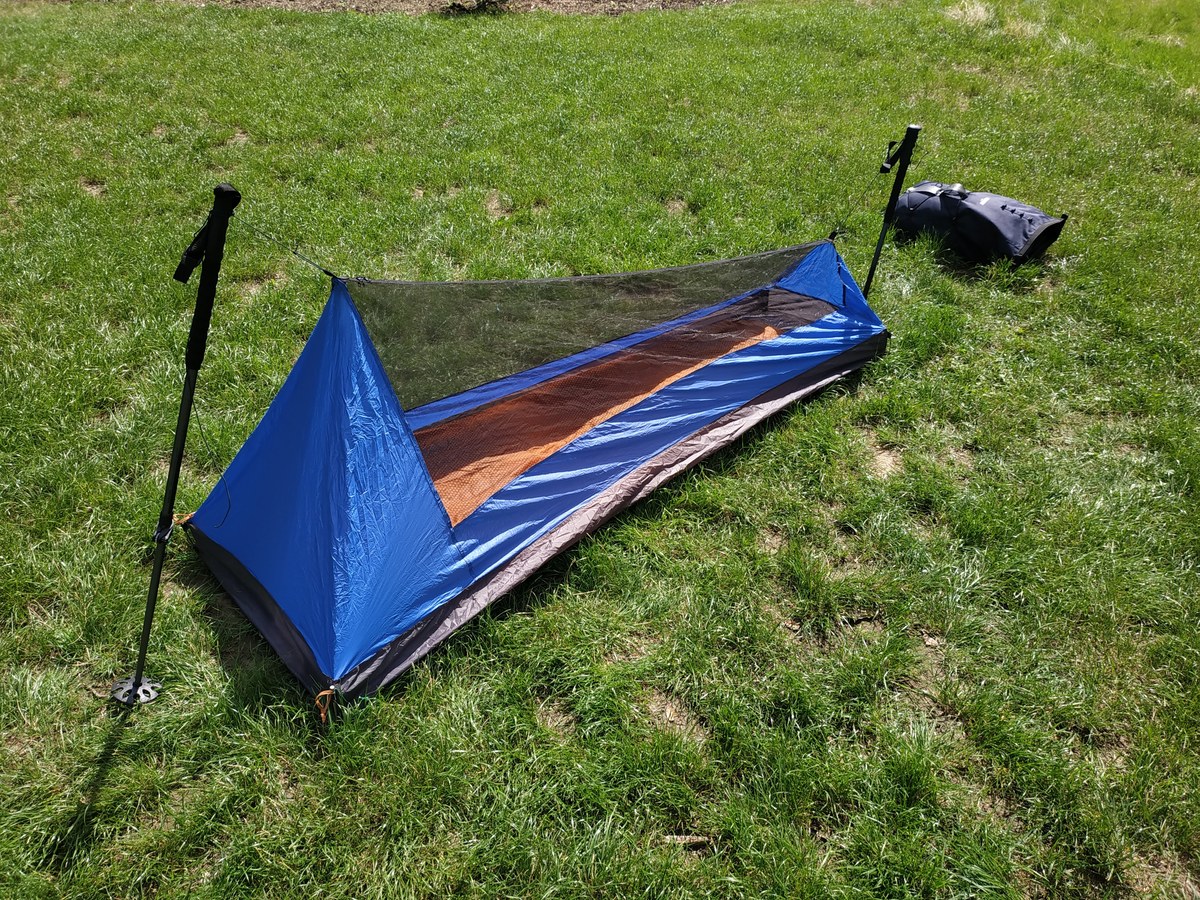
Entering and leaving the shelter is done by the top. A zipper goes all the way from head to feet. Even though the photo does not show it, the entrance opens to a generous size and allows to get in and out easily.
Here’s a bad picture of the first pitch in real conditions, under the tarp I sewed afterwards :
I’m 1.9m (6.2 feet) so I built the shelter accordingly :
Weight :
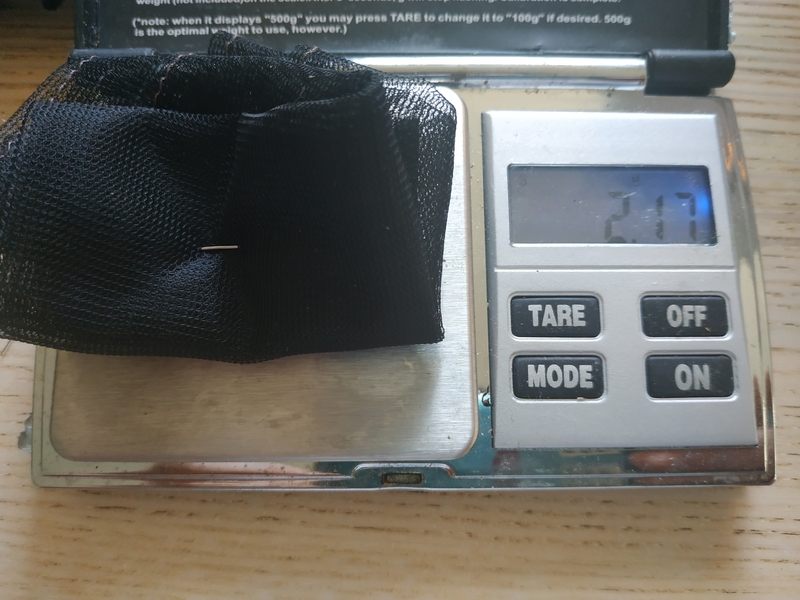
- Shelter+shock cord for attachments : 247g (8.7oz)
- with stuff sack : 252g (8.8oz)
- with 4 aliexpress Ti sheperd hook : 276g (9.7oz)
Dimensions :
- Width at head : 69cm (27in)
- Width at feet : 50cm (19in)
- Length : 210cm (82.6in)
- Peak height : 74cm (29in)
- Feet height : 37cm (14.5in)
- bathtub height : 12cm (4.7in)
- windproof+bathtub sides height : 30cm (11.8in)
Fabric :
- Bathtub : waterproof silpoly PU4000
- Side panels : breathable, water resistant PTX Quantum 35g/sqm
- Netting : 155 mesh/qcm (1000 meshes/inch²) : 25g/sqm
Project story
It’s been some time I’ve wanted to switch from sleeping in a tent to a tarp. However my recent hiking trips showed that, for some reason, ticks love me. Hiking with two other friends, I got between 5 to 10 ticks each day, when they got between 0 and 2… Several times, I’ve woken up to several ticks on the inner net of my tent in the morning. This made the idea of sleeping without bug protection a no-go. Actually, since Lyme disease doesn’t seem fun at all, I can’t imagine sleeping without a fully enclosed shelter of some sort anymore.
I stumbled upon the MLD bug bivy 2 , which looked perfect for my need. However, I live in France, so the price inflated with taxes and shipping is quite steep. Most importantly, I’ve always wanted to start the Make Your Own Gear adventure, and this seemed like a good project to start with. So, I decided to make my own version of the MLD bug bivy 2.
Choosing this shelter as a model is part of what makes the project complex. You can make very simple net-tents, two triangles on each extremity, two panels of netting, a bathtub and voilà. However the MLD shape is quite a bit more complex. This added complexity to both the design phase and the construction.
I decided to prototype the shelter with a 3D model. I never used CAD software before, so I learned CAD in the process. I also never sewed before, so I learned sewing in the process. All in all, the finished product is the shelter, but this was mostly a project about learning new stuff.
Designing the shelter
Starting the project
I started this project by reading as much as I could, finding similar projects, educating myself on this whole new activity. Good information sources were the BackPacking Light (BPL) forum and website. I also found interesting information on the myog subreddit. Finally, random googling brought me to interesting websites. I tried to keep track of the interesting links I found through the project, I used BulletNotes to try to keep things organized. An export of my notes is available on github.
Requirements
Honestly, requirements could be summarized as « be the same as a MDL bug bivy 2 ». It boils down to :
- Fully enclosed
- Waterproof bathtub
- Water resistant, breathable panels for added coverage
- Can be hung below a tarp
- Low weight
Design process
I saw some posts of people on BPL building 1:1 scale wood frames of what their shelter would be, then use this to create a pattern. I like that idea, but dealing with the logistics of wood construction in my tiny apartment is a big pain. My normal day job involves a lot of computers, programming, and so on. Naturally, I decided to base my design process on a 3D model of a tent. This became an adventure on its own since I didn’t know how to use CAD software.
Doing this taught me why so many tent designs use triangles. While it might be obvious with some thinking, actually « seeing » it with CAD design was a revelation : a panel with 4 side could easily have its four corners not in the same plane, which forces you to « flatten » the panel in 2d to make a pattern, which creates approximations on the shape. With triangles, there’s always a 2d plane on which you can project the panel.
I decided to use FreeCAD . People who know a bit about CAD around me told me that was insanity, that it’s not mature enough, etc etc. However it’s free and open source software, so I like that, which also means that all the tools I needed were available for free, even if it required some tweaking. At some point, I recreated the design in Fusion360 (which is free for hobbyists), and let’s be honest, it was way faster and easier than in FreeCAD. However, flattening tools are 3rd party in Fusion360 (and not free). With some practice, FreeCAD is not that bad to use, and with some polishing it will probably grow to an excellent CAD software.
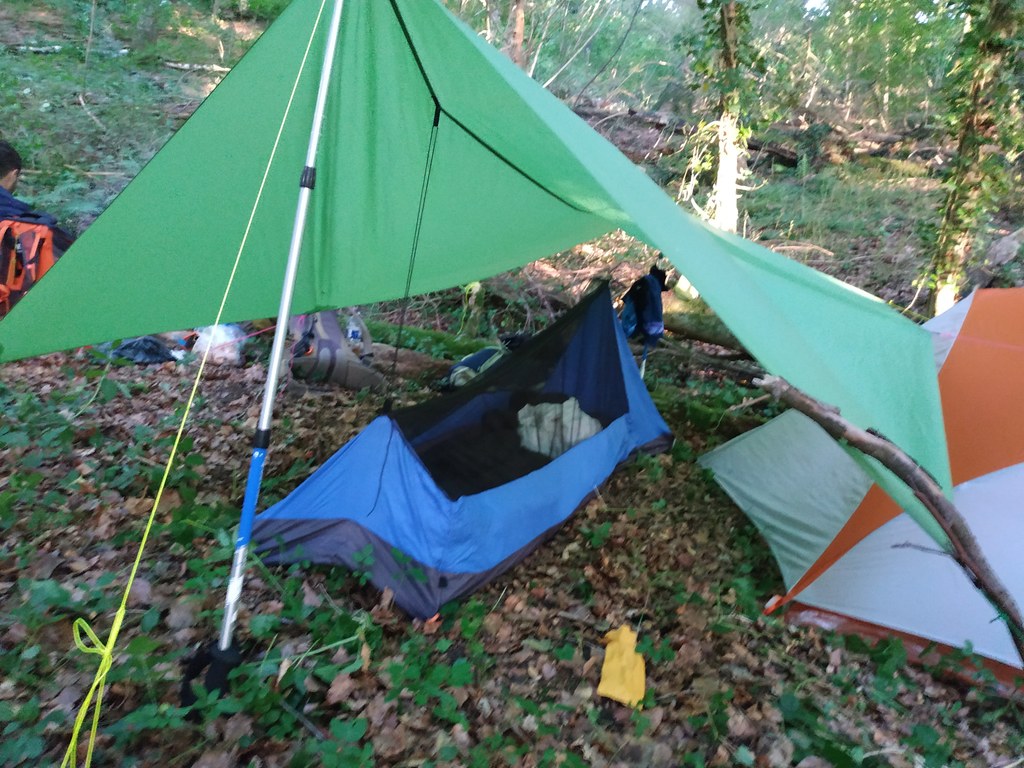
I basically created the wireframe of the tent, then used those wire to create the surfaces. A view of the wireframe :
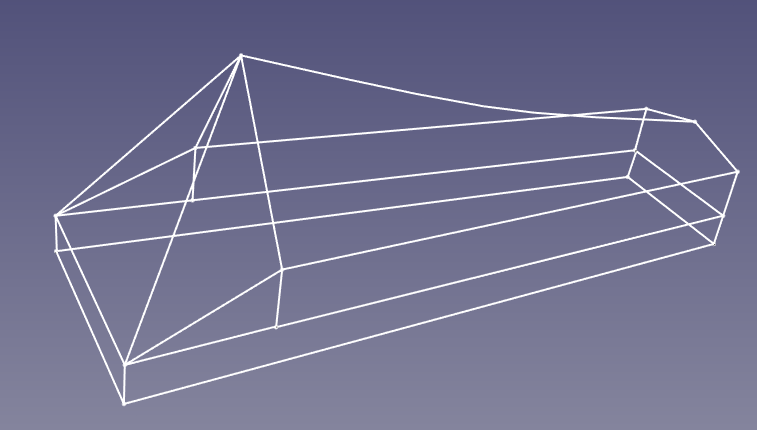
I’m pretty sure that it’s not the conventional way to design in freecad. However, for my defense, after trying several workflows, it was simpler this way and, “it works”. It also kind of mimics the technique of creating a wooden frame in real life, which I described above, so I guess there’s a logic to it.
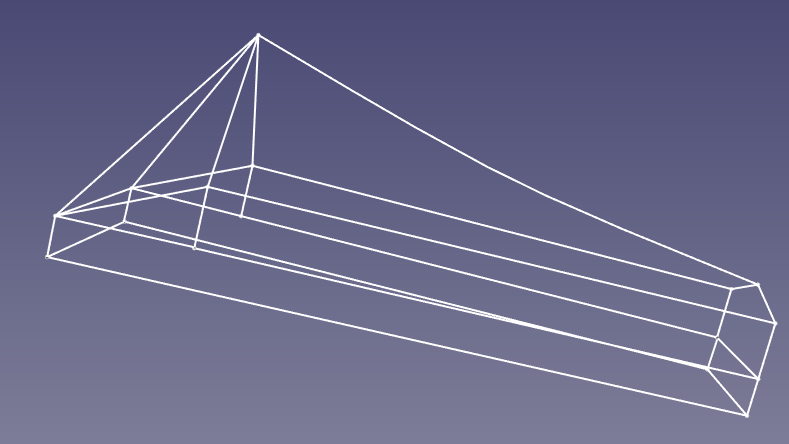
Once this was done, I used those lines to create the surfaces which would be fabric in real life.
At this point I tweaked the model a bit until I was satisfied.
Then the next step was to get a usable pattern from the 3D model. I used FreeCAD tools (and some external macros) to unfold the surfaces that would correspond to single piece of fabric in real life. I also used FreeCAD tools to flatten the parts that were not flat in the model, which correspond to the netting pannels. These are 3D surfaces that must be flattened to create a 2D sewing pattern.
Unfolded, flattened, ready to be exported in .svg :
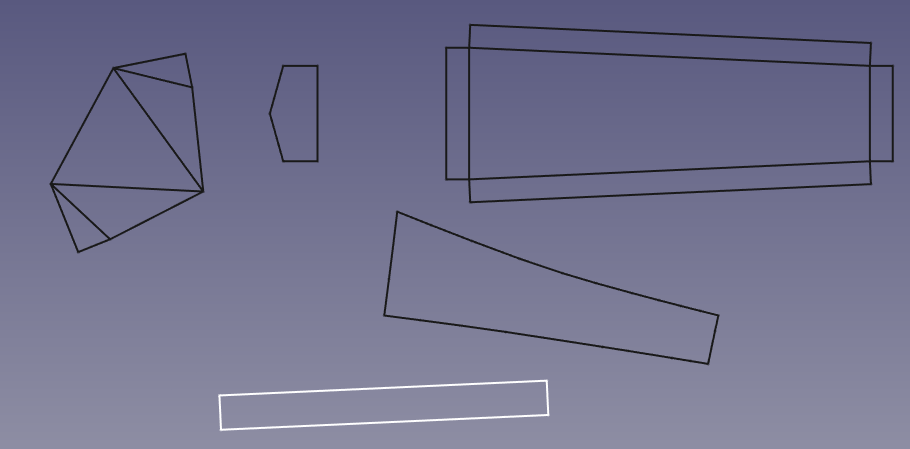
Once I had 2D representations of each fabric panels in FreeCAD, I exported them in svg format. Then I used Inkscape to create a pattern out of those shapes. At first I tried to use FreeCAD all the way, but Inkscape is better for working with 2D patterns.
In inkscape, the SVG generated by FreeCAD were first cleaned out (separate and reconnect lines mostly). Then, the path/outset tool was used to add seam allowances. Finally measurement tools were used to mark the dimensions of the pieces of fabric.
Out of this I got drawable patterns :
Once I had the pattern sorted out, it was time to learn a bit more about sewing.
Making the shelter
Disclaimer : complete beginner in sewing, so take this for what it is.
Material choice
Material choice was dictated by a mix of my requirement of low weight and availability from european suppliers. I read quite a bit of literature, mostly from BPL and myog subreddit, to help me with my choice. I ended up with the following materials :
- Bathtub : waterproof silpoly PU4000 55g/sqm : its durability/weight/waterproofness characteristics seemed like a good compromise. Sourced from adventurexpert. I bought 4 meters, but less is required.
- Side panels : breathable, water resistant PTX Quantum 35g/sqm : very light, water resistant, breathable, it also seemed like a good choice for my requirements sourced from extremtextil. I bought 4 meters, but less is required.
- Netting : 155 mesh/qcm (1000 meshes/inch²) : 25g/sqm : the smallest holes/lightest combo I could find, on extremtextil also. I bougth 4 meters, but less is required.
- Webbing : To make loops to attach the tent, I used 10 mm grosgrain. On extremtextil
- #3 zipper : cheap and low weight, can be found anywhere.
I bought too much of everything, but this being my first project, I prefered to have some stuff to practice on.
Tools used
- A sewing machine, obviously. Mine is a Toyota RS2000.
- A straight stitch foot : it was not provided with my machine and I bought it separately. I tested a walking foot, a roller foot, the usual zigzag/flat foot. In the end, I felt more at ease with the simple straight stitch foot. I think the small opening really helps with sewing.
- Schmetz Microtex 60/8 needles : it’s small, it’s good for less fabric puckering.
- Amann Rasant 120 Polyester/Coton thread : I bought this one because it’s thin and because I found 20km of thread on ebay for real cheap. I have enough for a lifetime now.
- A rotary cutter : really helps for cutting fabric straight
- A straight edge : I used a straight piece of aluminum I had lying around.
- Scissors for fabric
- Paper for patterns with 1cm marks : really helped to draw the patterns.
- Scissors for paper : don’t use the same scissors !
- Pen/Pencils to draw on paper and fabric.
Techniques used
Assembling panels.
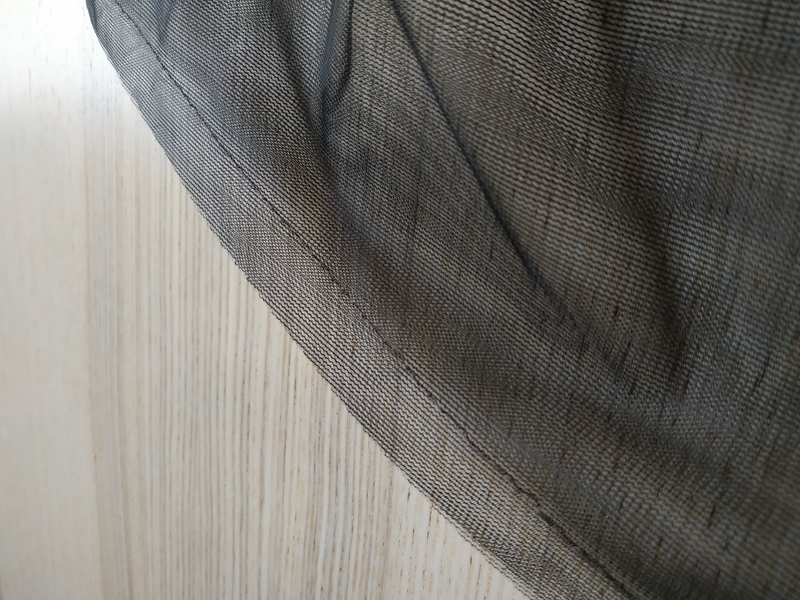
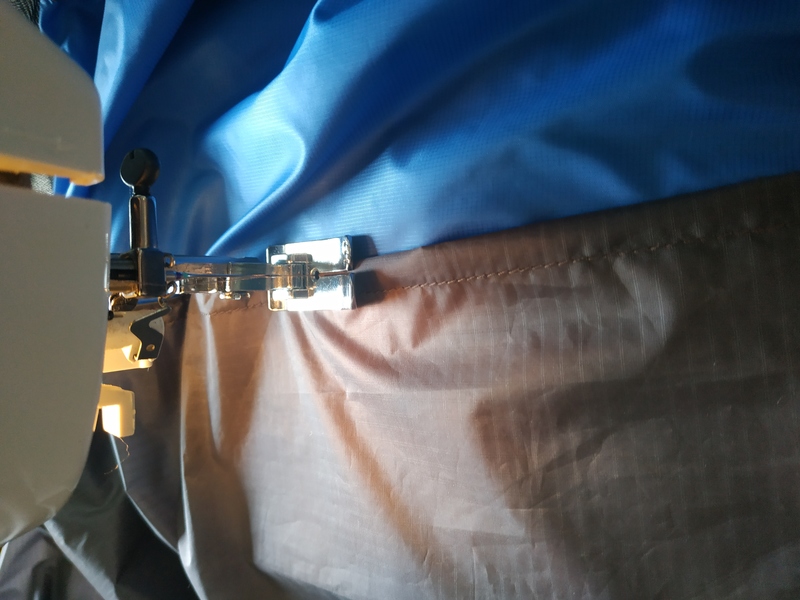
There are many techniques to assemble two panels together. I identified two seams as relevant for my case : flat felled seam and top stitched French seam. Both of those seams ensure that the fabric edge is tucked inside the seam, ensuring that it will not unravel. They also ensure that stitches go through several layers of fabric, which is good for strength.
In theory, the flat felled seam seems like the best of all. 2 rows of stitches passing through 4 layers of fabric each ensure a very strong result.

Real flat felled sea (image from hilleberg tents website)
Flat felled seam is best made on an industrial sewing machine with 2 needles. I don’t have that kind of machine. You can find a lot of tutorials on making a flat felled seam with a home sewing machine. However, many of these are not « real » flat felled seams : some don’t go through all layers of fabric, etc. You can find some tutorials for a real flat felled seam, but in any case it involves a lot of folding, which is a pain with ultralight fabric.
Enter the top stitched French seam. I discovered it through the Yama Mountain Gear website which has this superb tutorial on making the stitch. This seam is probably a bit less resistant than the flat felled seam, but it doesn’t require any folding, any weird asymmetric seam allowance : sew 3 straight lines and voilà.
When I make my tarp I’ll probably try a flat felled seam, but for this current application, the simplicity of the top stitched French seam won my heart, and I’m pretty sure the strength will be more than enough for a net tent.
Thread tension.
Tension is a pain. You want to go really low with ultralight fabric. I bought quite a lot of extra fabric that I used for testing, making lines and lines again with several settings. On my sewing machine, I don’t know if it’s usual or not, there’s a small spring that tensions the upper thread, independent from the tension setting. This puts a minimum baseline on upper tension, even if I set it to zero. In my quest of lowering the tension, I tried circumventing that spring but it would make the machine malfunction. I also disassembled the external frame of the machine, in the hope of finding « something », and out of curiosity also, it did not yield any results, but was fun.
For my machine (Toyota RS 2000), the process of finding the correct tension ended up being : start from lowest possible upper thread tension, and then adjust the bobbin tension to match it. I’m pretty sure a lower overall tension would be better, but I can’t test that assertion with my machine.
Did you see what I wrote just above ? I wrote it before starting the actual sewing. It’s not completely true. When I wrote this, I was trying to find the correct tension for 2 pieces of one specific fabric. However in this project there are 3 different fabric. Also, depending on what you are sewing, you might be sewing through 2, 3, 4 or even more layer of fabric. Each of these combination have their own ideal tension. So the real way to find the correct tension ended up being : sew some stitches, check what they look like, adapt tension, repeat. With practice it gets better.
Needles and thread.
With ultralight fabric, go small, very small. The smaller the less puckering. I ended up using a 60/8 needle and rasant 120 thread.
This is smaller than recommended size, but as someone said somewhere on BPL (sorry I didn’t keep the link), that thread manufacturers have a tendency to advice bigger needle size than required.
Build log of the shelter
A really helpful tutorial is the one from Yama Mountain Gear for their DIY net tent kit. I refered to it a lot during the build.
Draw the pattern
I chose to draw the pattern on paper and then use the paper pattern to cut the fabric. This has the advantage that you can keep the paper pattern to recreate the project another time, if you’re careful. Also, drawing the pattern on paper with a grid is wayyyy easier than drawing it directly on fabric. With this approach, the first step is to draw and cut the paper pattern.
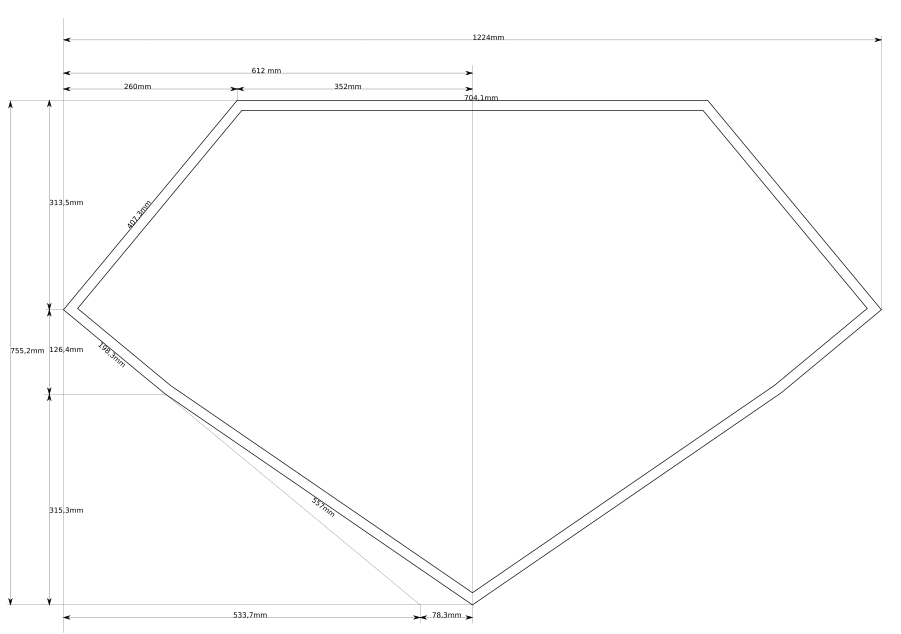
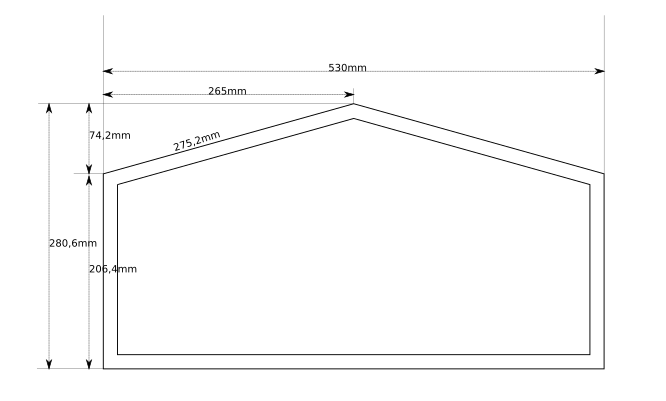
I got my computer files with the patterns I made (available here) and drew them on paper. The digital files should have most, if not all, of the measurements required to trace them on paper with a ruler and a square. No need to calculate angles.
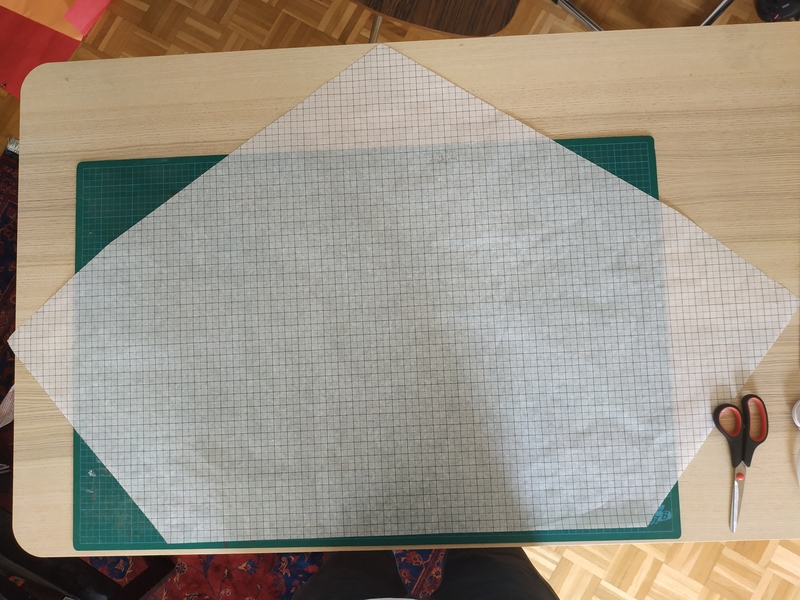
In the picture below you can see the paper pattern for the head part :
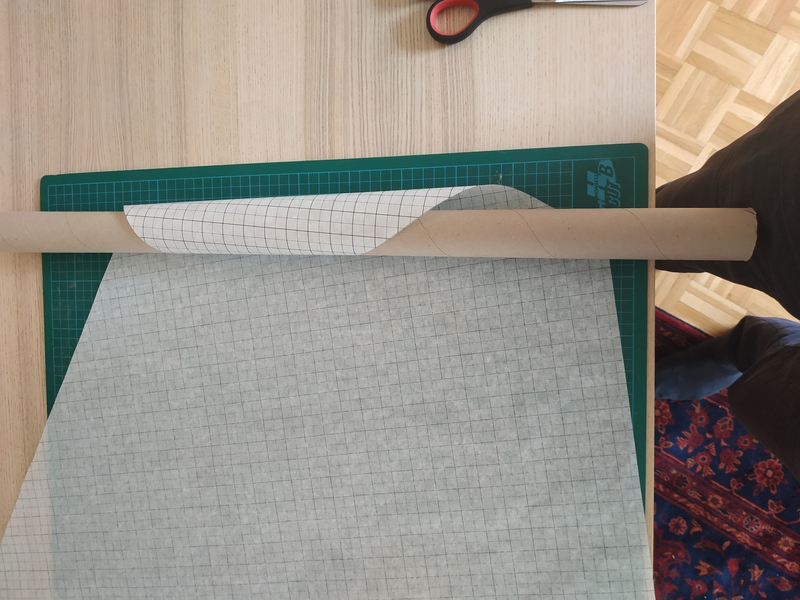
While I was cutting the other parts, I needed a way to store the already cut parts. I decided to put them on a roll, which worked pretty well :
I kept cutting other pattern parts : foot part of tent :

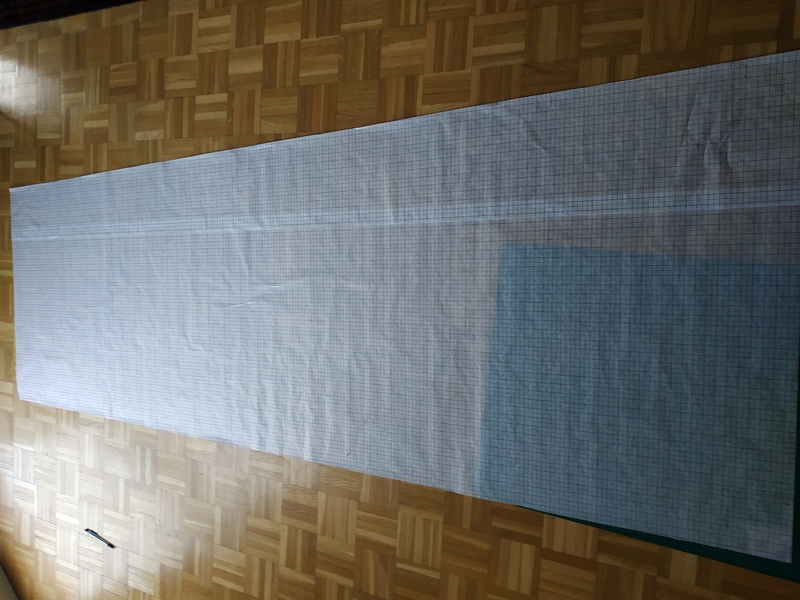
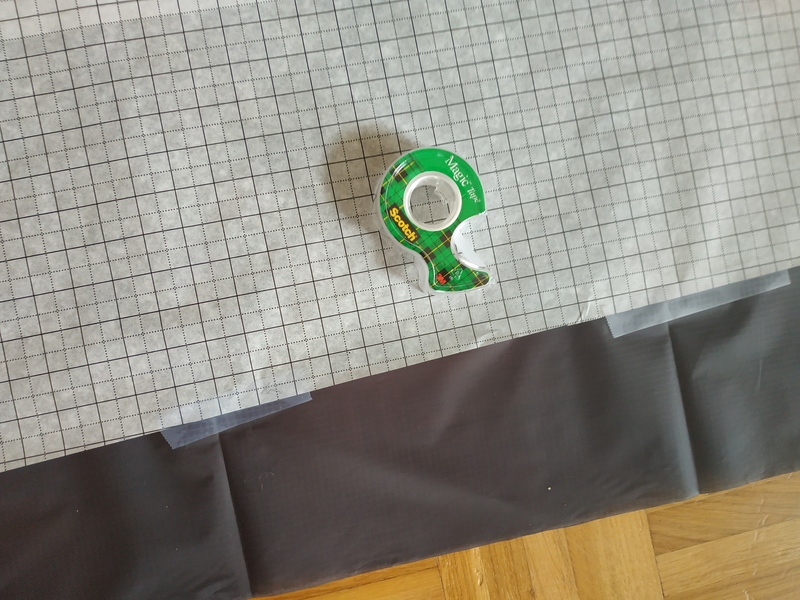
The bathub pattern was too wide for the paper roll, so I taped together two sheets of paper :
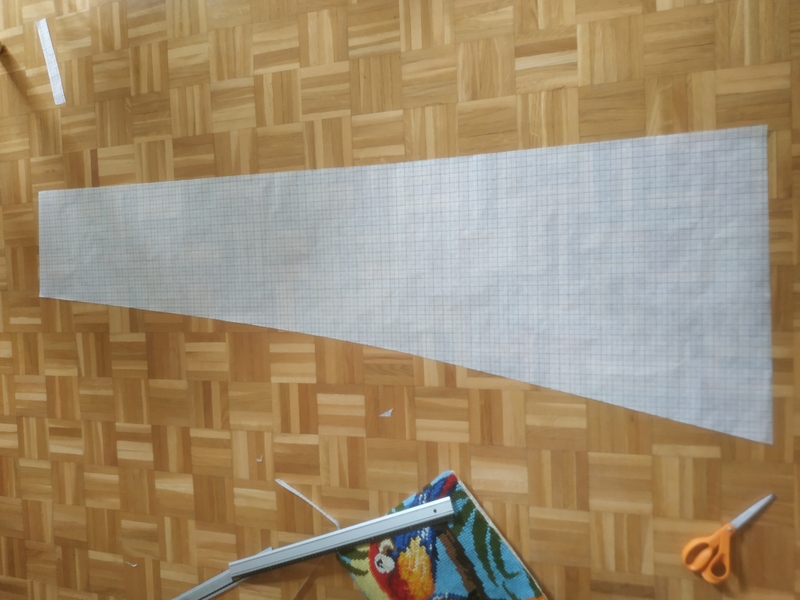
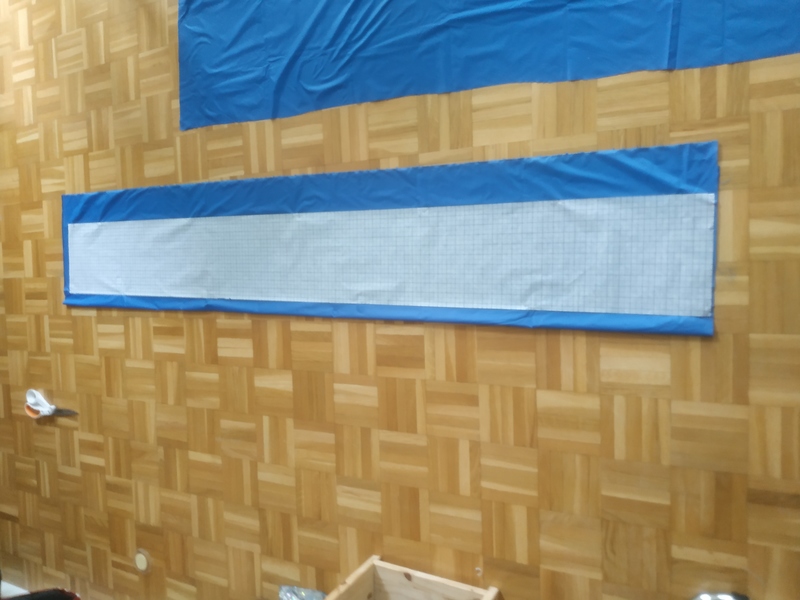
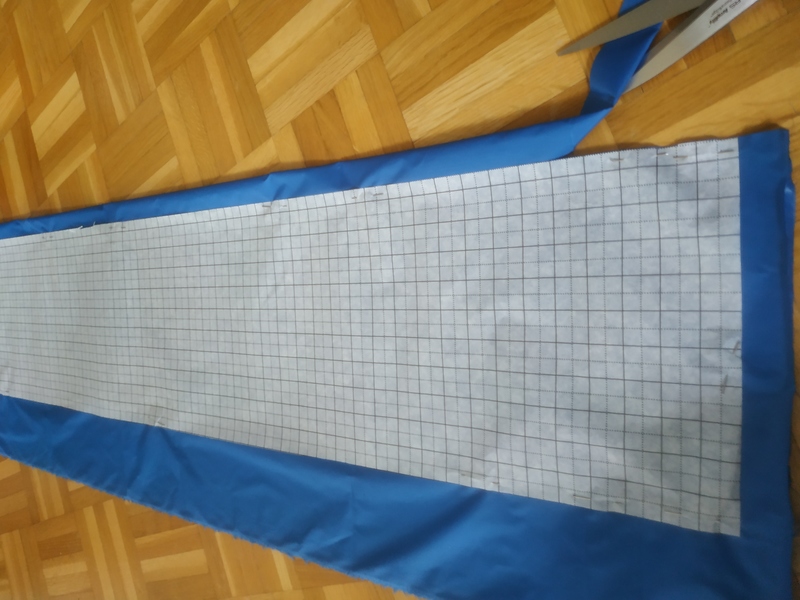
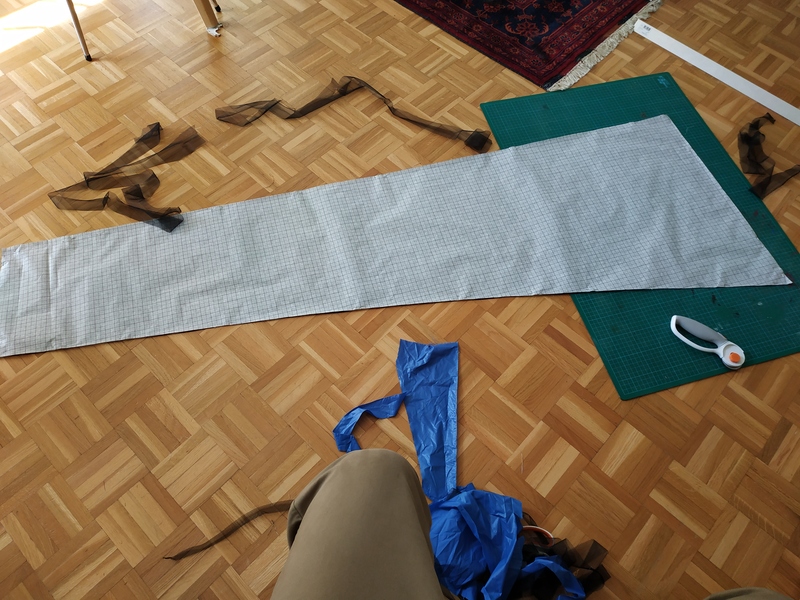
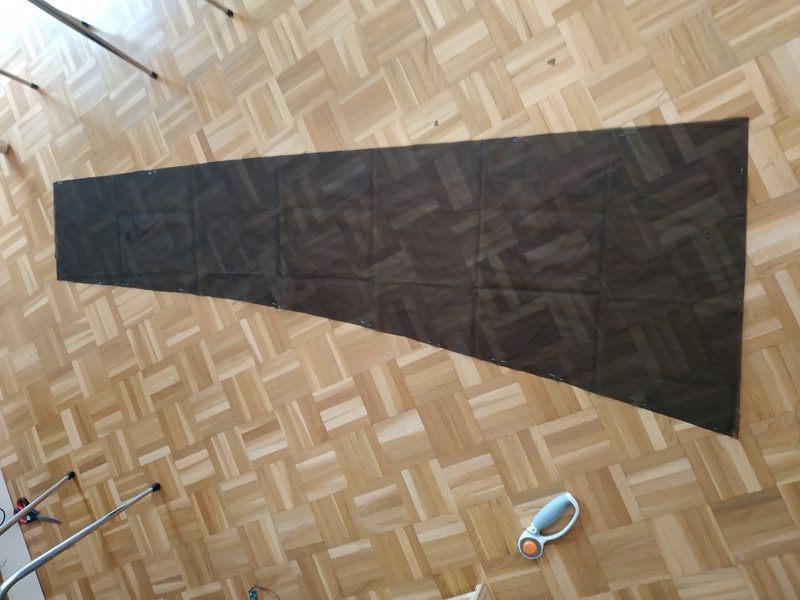
The netting pattern was the longest to draw because of the curves. I approximated the curve with 10 cm segments, it was good enough :
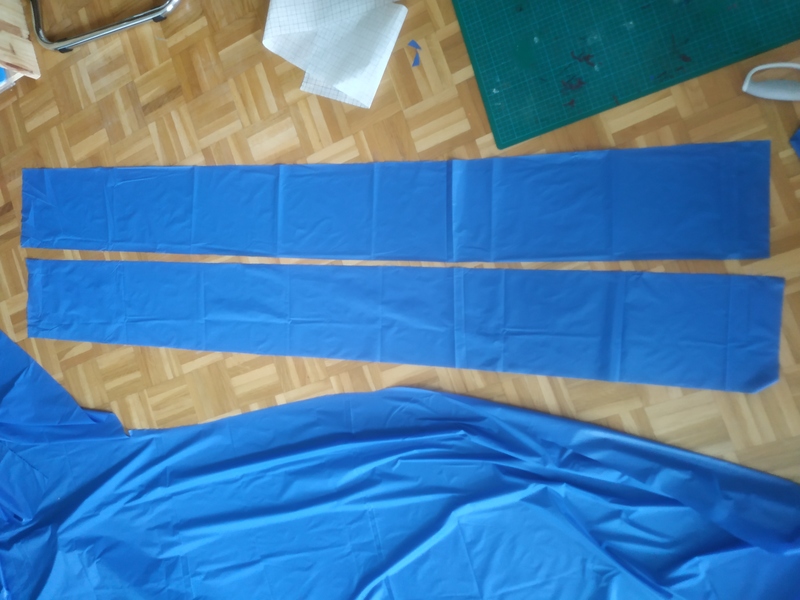
Cut the fabric
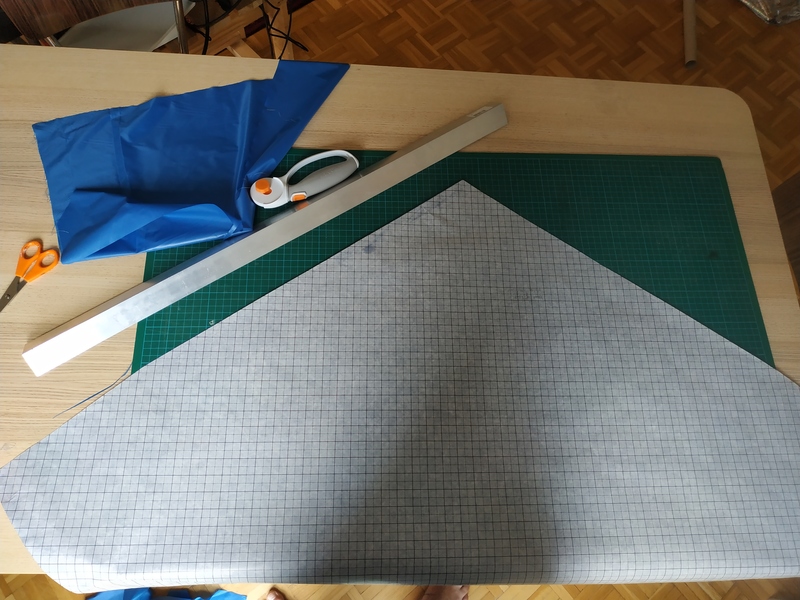
Once drawing was done, it was time to start cutting the fabric. This is where things get real.
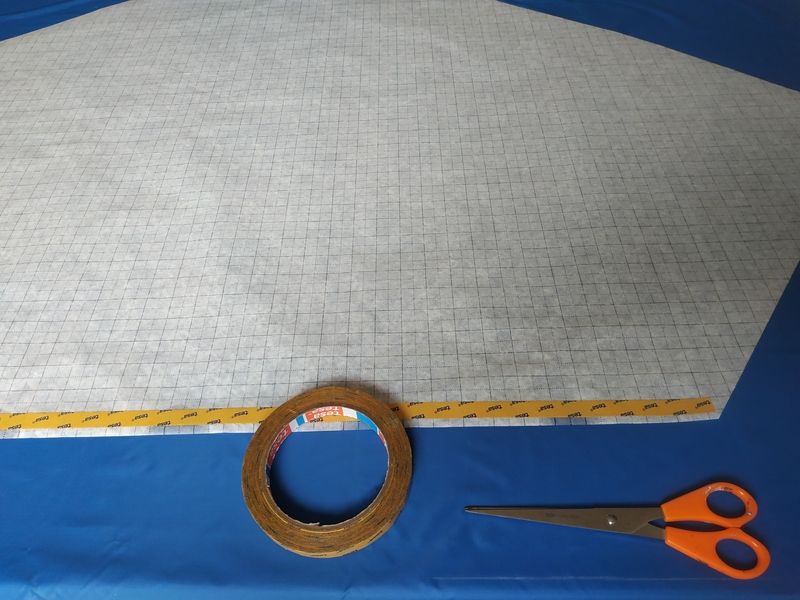
On the pictures below you can see the side pattern with the fabric below. Since there are two symetric sides, I carefully folded the fabric and layed the pattern on it, so I would only need to cut once for both panels. The pattern was secured to the fabrics with regular pins. Afterwards, I tried other ways to secure the fabric to the patterns, but I now think that pins are the best compromise.

I tried to use double sided tape to secure the pattern for the head part. It worked very well for cutting and it was very easy to position. However there are two drawbacks. First, once you have double sided tape on your pattern, it’s done. Reusing it is nearly out of question because storage will be very difficult. Second, it works well when you need to cut one panel of fabric at once. If you need to cut two at once, then it’s useless.
On the following screenshot you can see my weapons of choice for cutting straight lines in fabric : a rotary cutter and a piece of aluminum square. It works very well, but the blades dull quickly. They are cheap, so do not hesitate to change them often. I used three during the project.
On the following screenshot you can see the pattern for the foot part that was also secured with double sided tape
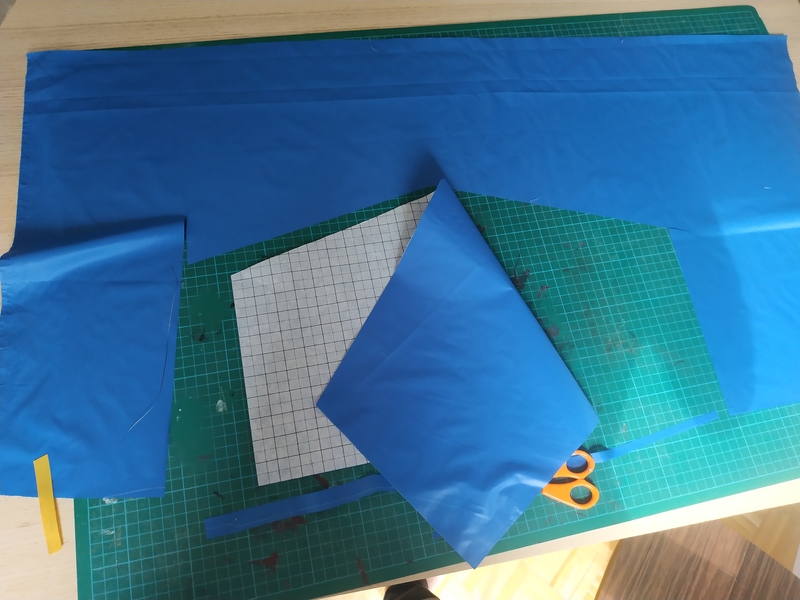
Then, the third technique I used to secure the patterns is… single sided tape ! See for yourself :
It works very well, and the drawback number one of double sided tape (unusable pattern afterward) doesn’t exist. It’s a pretty good solution for cutting one fold of fabric, however if you have two to cut, pins win.
Last piece of fabric I cut was the netting. I used pins because I cut two folds of fabric at once. I cut it last because I read on several places that netting has a tendency to roll on itself when cut and left aside for too long. So I cut it last and sewed it first.
Sewing the tent
The order for sewing the panels was dictated by the shape of the tent :
- Sew netting panels together and add zipper
- Sew water resistant fabric side panels to netting
- Sew head and foot panels to the result of 2.
- Sew the bathub to itself to give it its shape
- Sew 3. et 4. together.
This is the only way to get continuous stitches for all sewing steps, or at least the only I found. It worked out pretty well.
First step YOU SHOULD DO, is to put the zipper pulls on the zipper NOW. I waited a bit more, and it was a pain, I had to unsew things and resew. Don’t do that mistake and put the zipper pulls before any sewing starts.
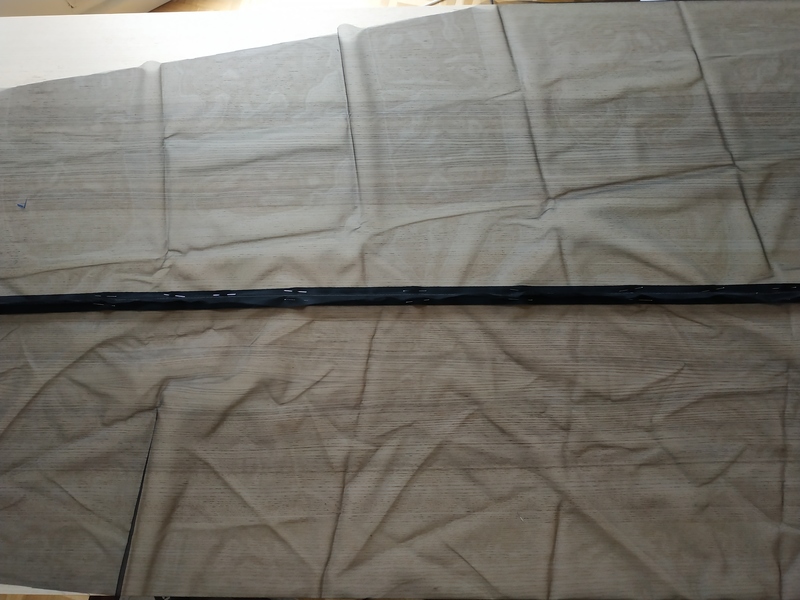
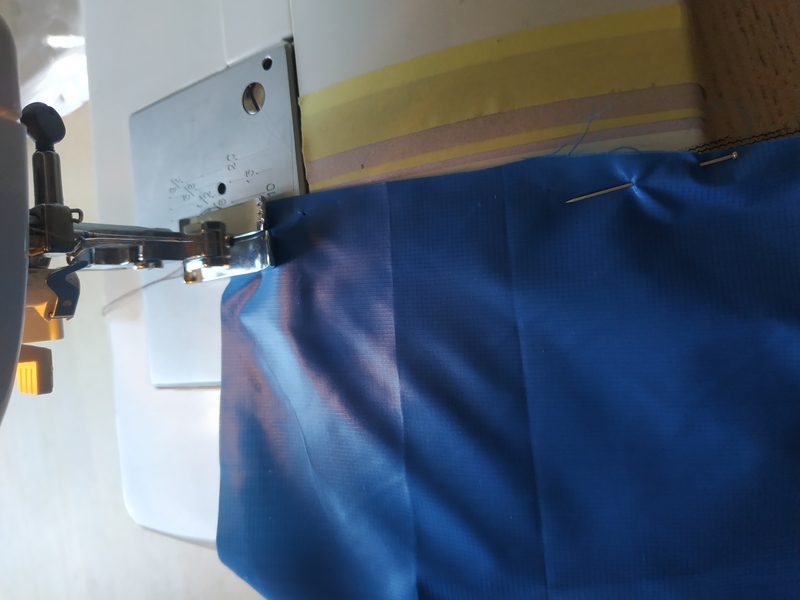
First (second) step was sewing the netting together and the zipper. Since I put a constant seam allowance of 15mm on all panels, it meant that the zipper had to go on that 15mm distance from both netting panels. Instead of measuring and folding (folding is a pain) and pinning (pinning is a pain) directly the netting on the zipper, I started with a seam at 15 mm to join both netting panels. This was easy to do because my sewing machine plate has a marker for 15mm I could follow to ensure the seam is at the right distance. This seam would then be my reference for where to put the zipper. In the end, I would have to rip those stitches, obviously.
Pining netting before sewing :
In the picture below you can see the seam at 15mm. I sewed with the largest space possible between each stiches with my machine, since I will need to rip those afterwards :
Once this was done, I had a clear position to put my zipper. I pinned the fabric on the zipper, folding the fabric on itself during the process. This was longest and most boring step of the whole tent making.
So many pins. So many.
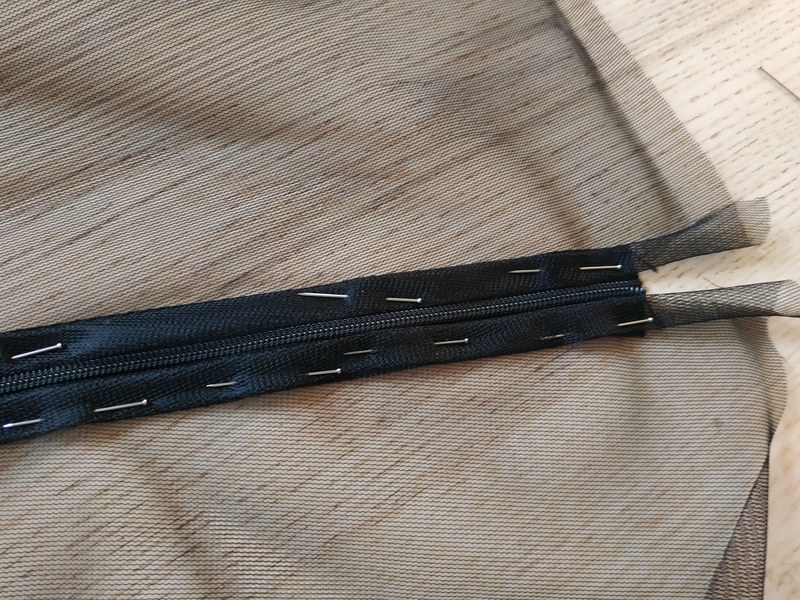
Getting ready to sew the zipper :
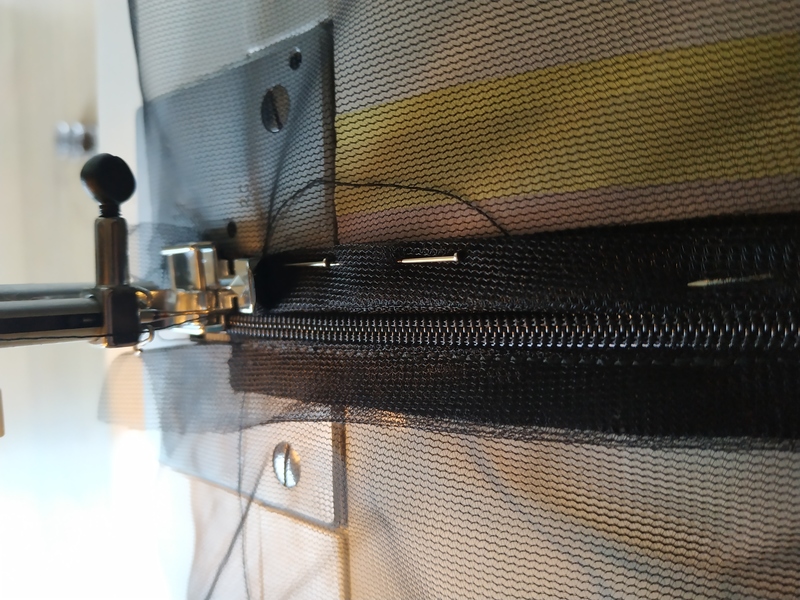
I made a mistake here : I sewed too close to the zipper : this hindered proper functionning of the zipper. I had to rip the whole stitch and start again. But the idea is to have two rows of stitches attaching each netting panel to the zipper.
Once the zipper was sewed-on, I ripped the first stitch.
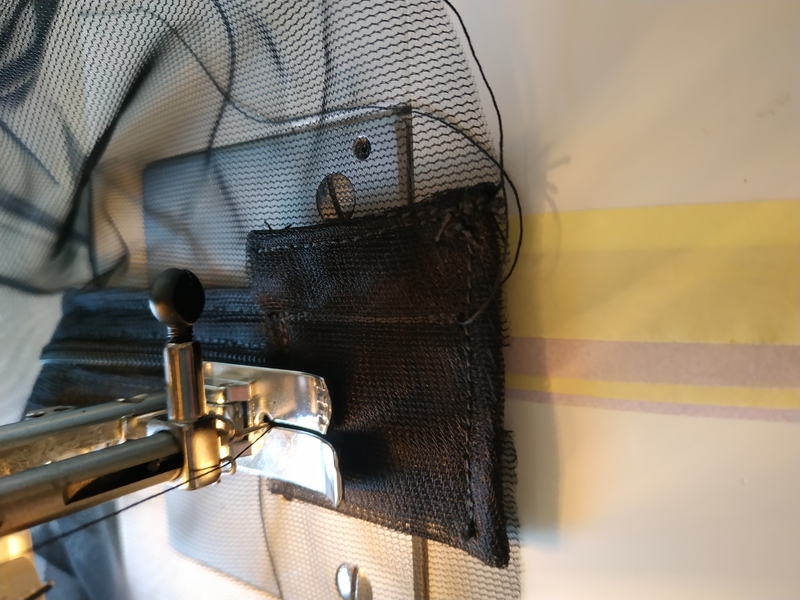
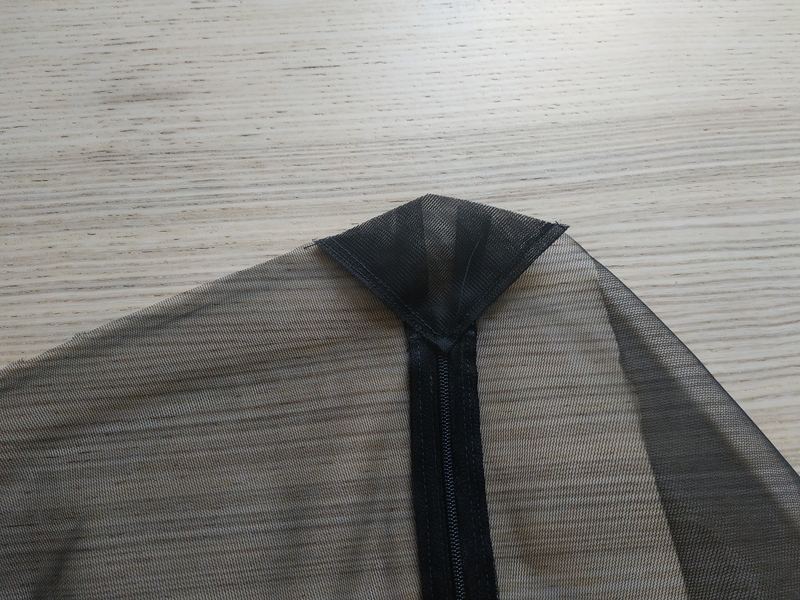
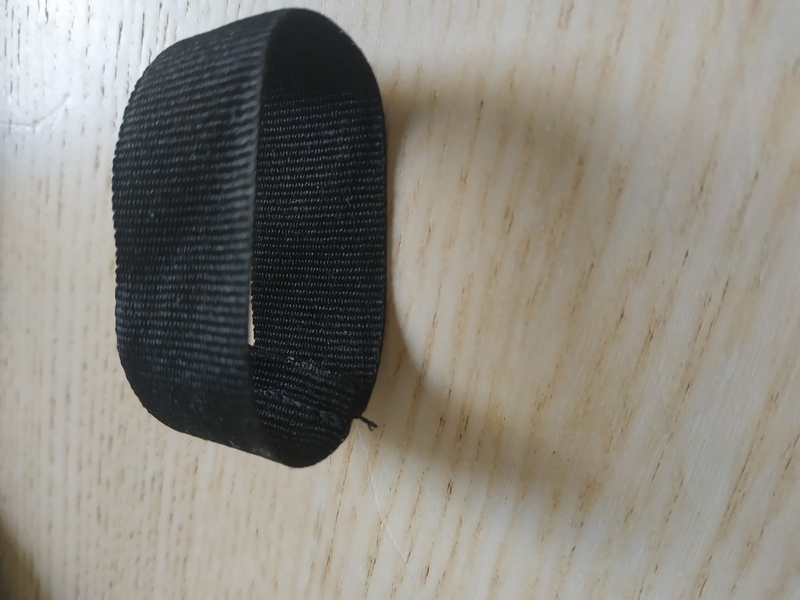
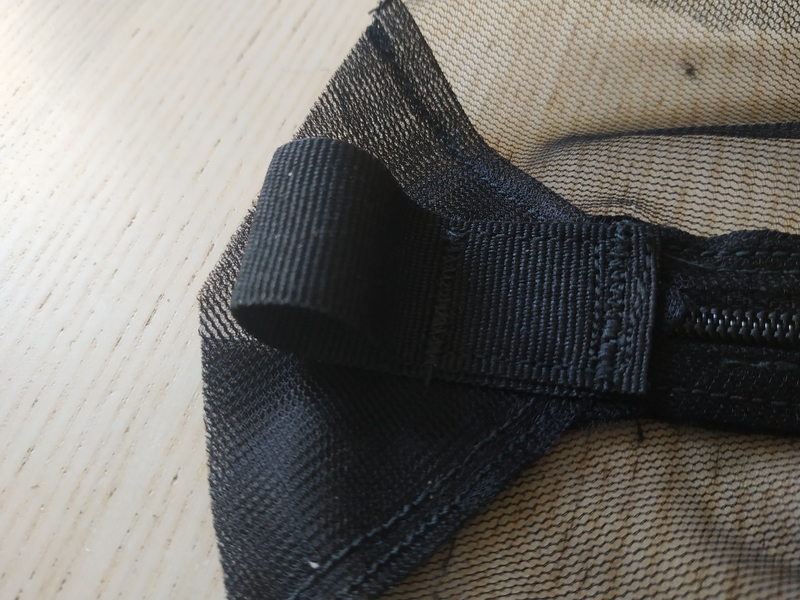
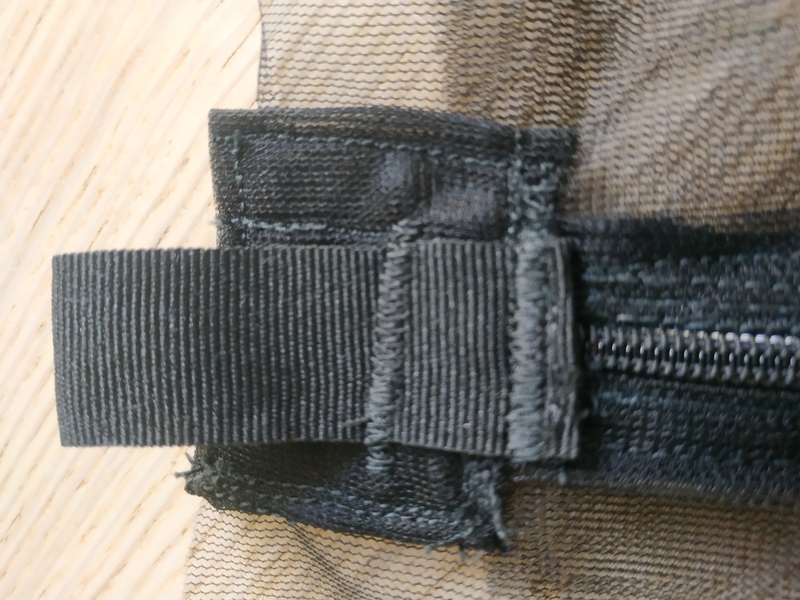
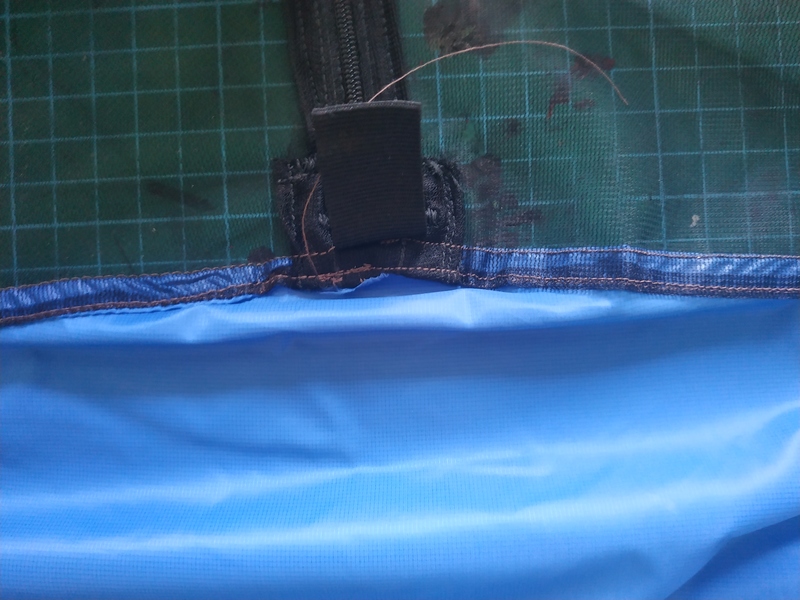
Next step was to make patches for each ends of the zipper. Those patches have two roles :
- stop the zipper pulls
- Serve as an attachment point for the loops that will be used to pitch the net-tent.
I didn’t make a pattern for those patches, I measured directly on the fabric the required size. Care must be taken to take into account the seam allowance that will be used later-on. The patches were made by folding two squares of netting twice and sewing them.

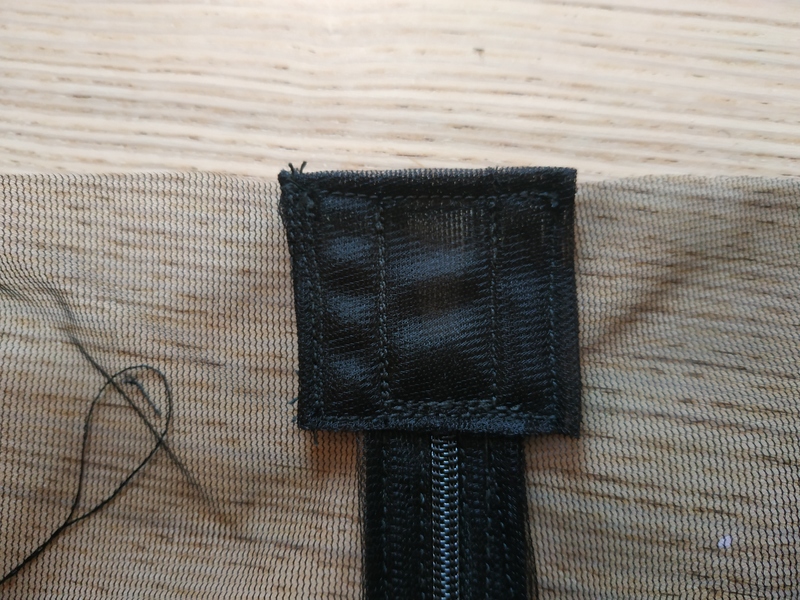
Sewing the foot reinforcement :
Foot reinforcement done :
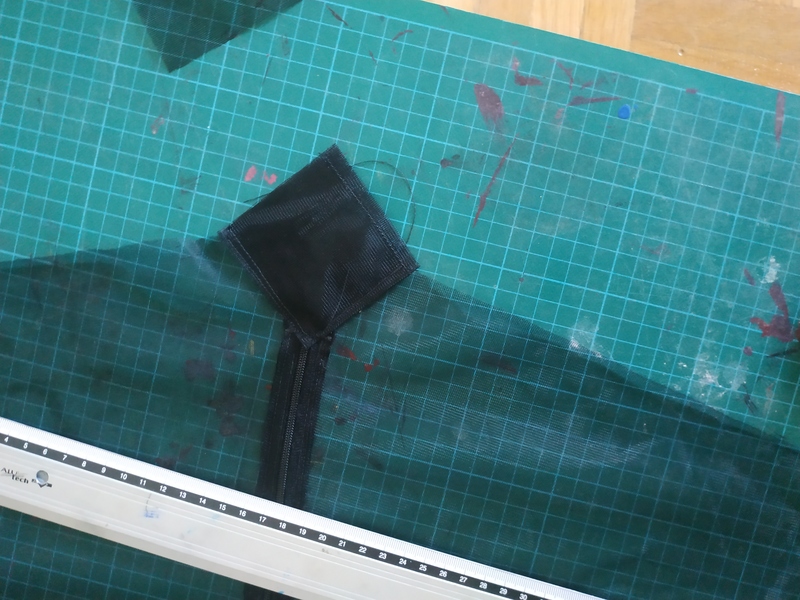
Head reinforcement was sewed then cut to size as seen below :
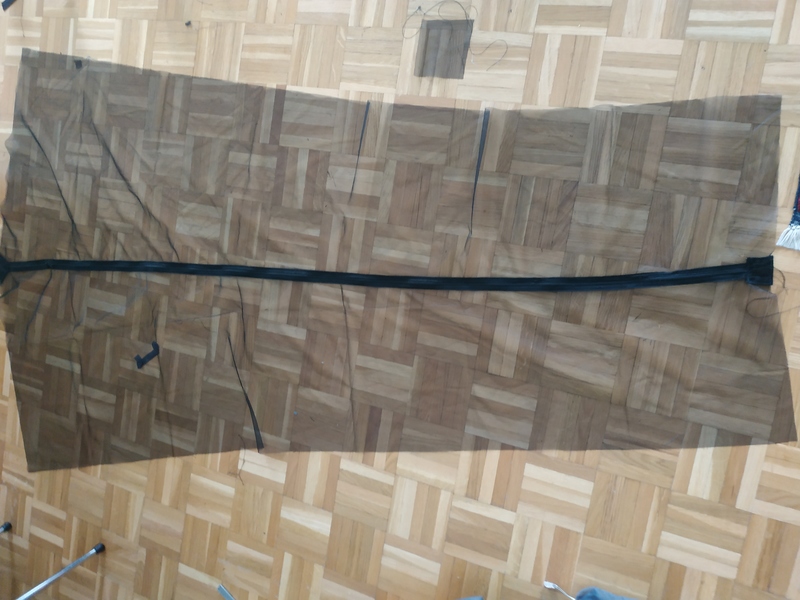
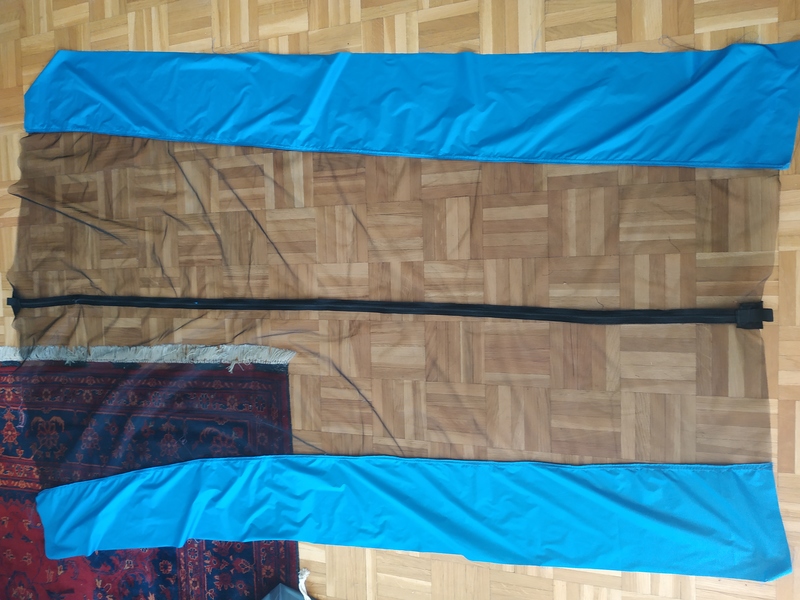
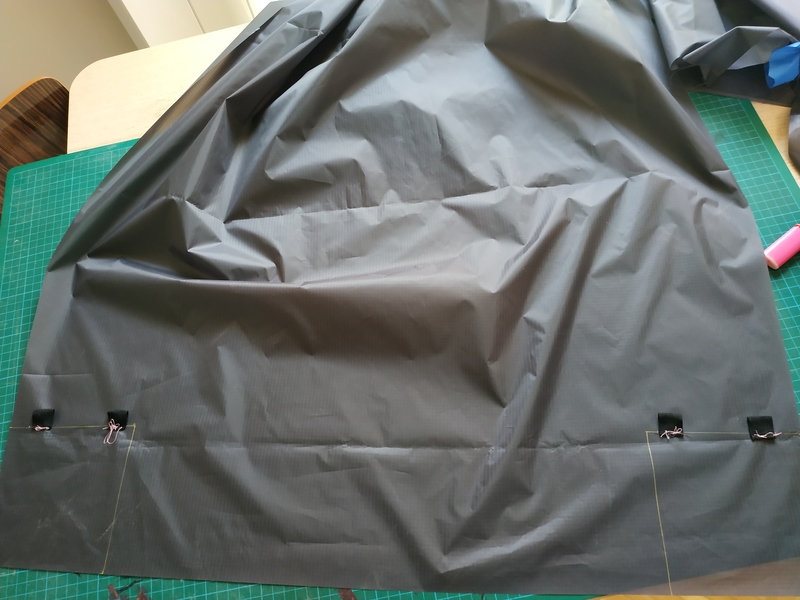
Netting panels are connected at this point :
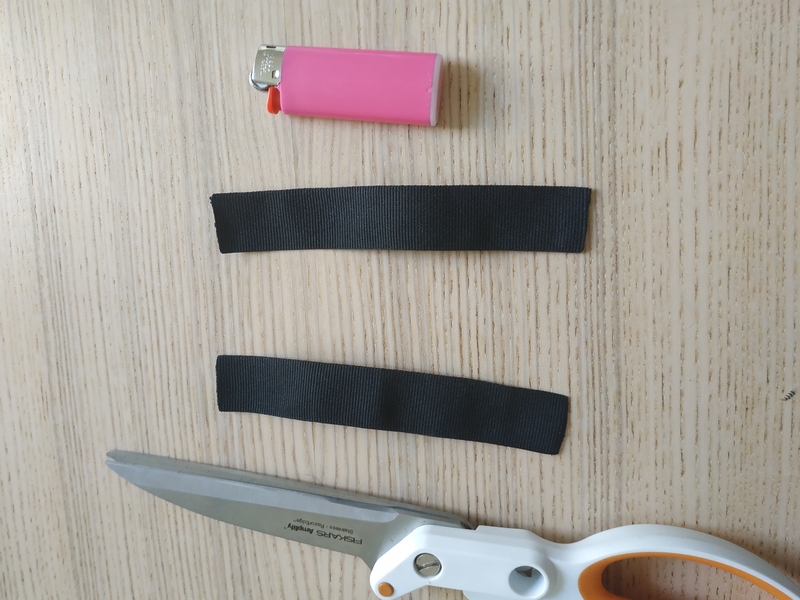
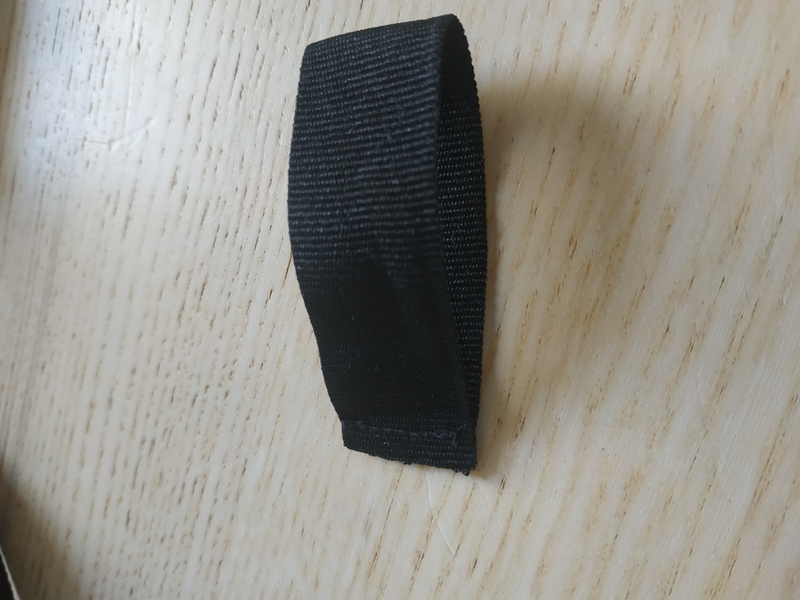
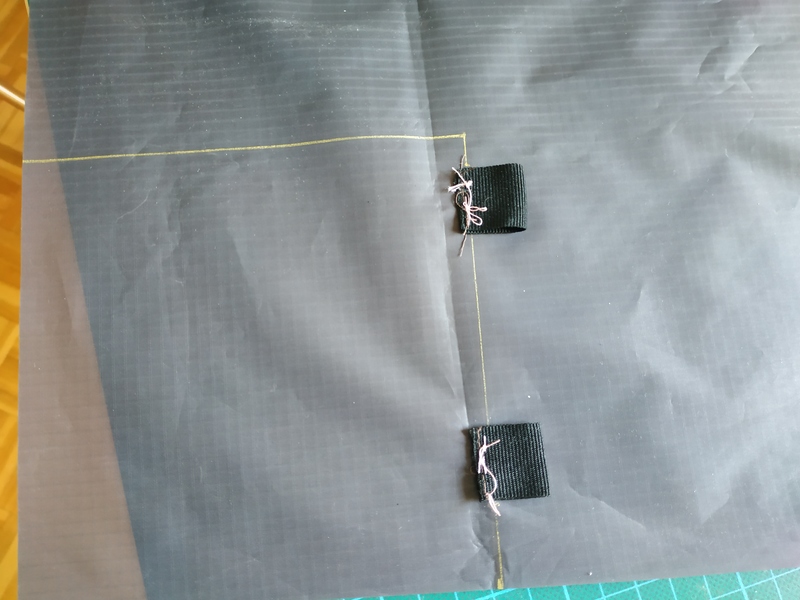
Next step was to sew the attachment points for setting up the tent. I used some webbing. Like the patches above, the sizing was done by making “real life” measurements to get a feel of what would be right. I cut two pieces to the same size, burned them to ensure they won’t unravel, and then sewed them together.
 First sewing :
 Turned inside-out :
 Sewed-on to the patches, making sure enough space is left for seam allowance :
Step number 2 : sewing water resistant sides to netting.
Pinning the fabric :
First stitche of the flat felled french seam :
End result when both water resistant patterns are sewn :
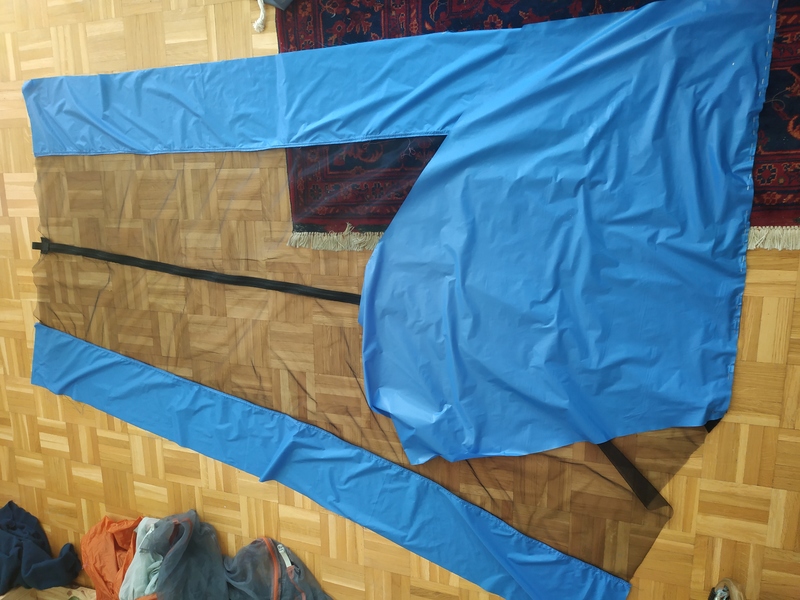
Step number 3 : head and foot panels :
Pinning the head panel :
No other pictures of the head panel sewing, sorry.
Pinning the foot panel :
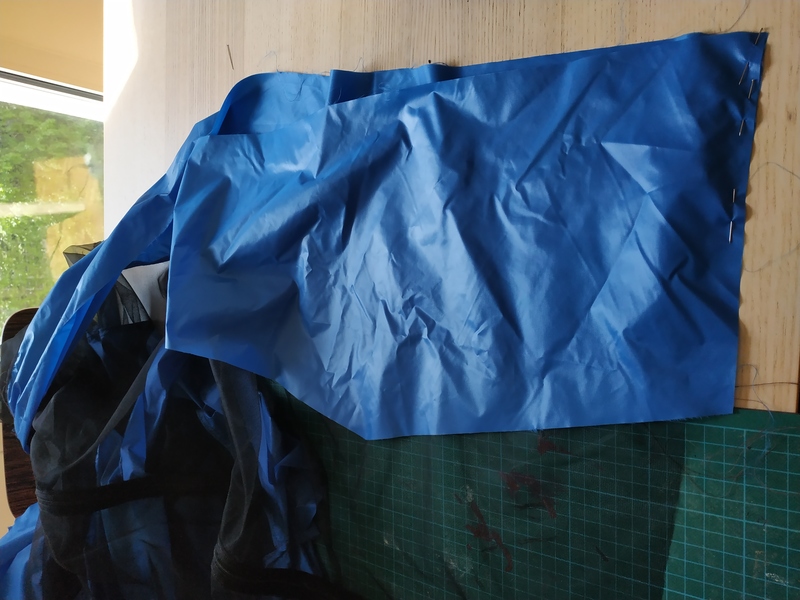
First stitch of the foot panel :
Foot panel turned inside out :
Second stitch on foot pannel :
Third and final stitch on foot panel, where the fold of fabric is layed flat and then sewed-on one of the sides. There’s no science to choosing one side or another. In this case I did the opposite of all the other times, I sewed the fold on the water-resistant fabric, simply because it felt easier, but it’s a bit uglier because folded netting doesn’t look as good as folded WR fabric.
Closer view of the ugly, not so straight sitches also :
Once all of this was done, I had the upper part of the tent done :
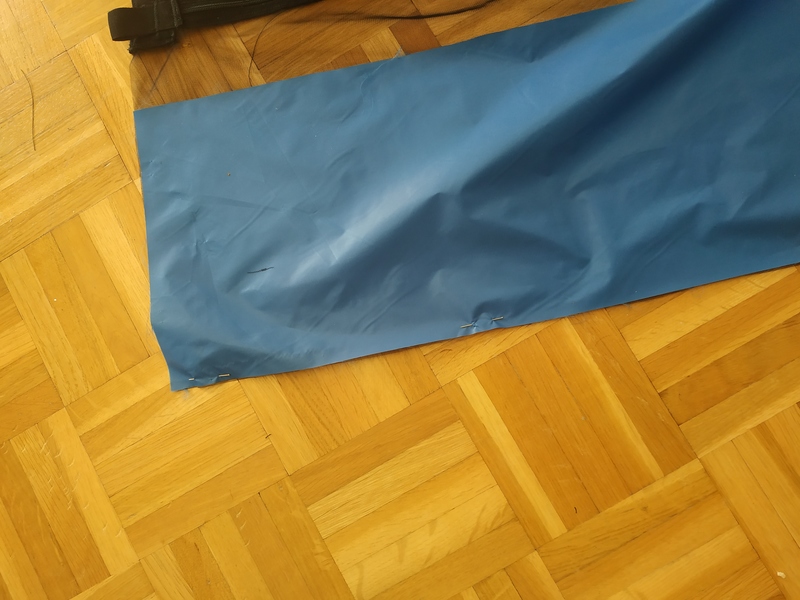
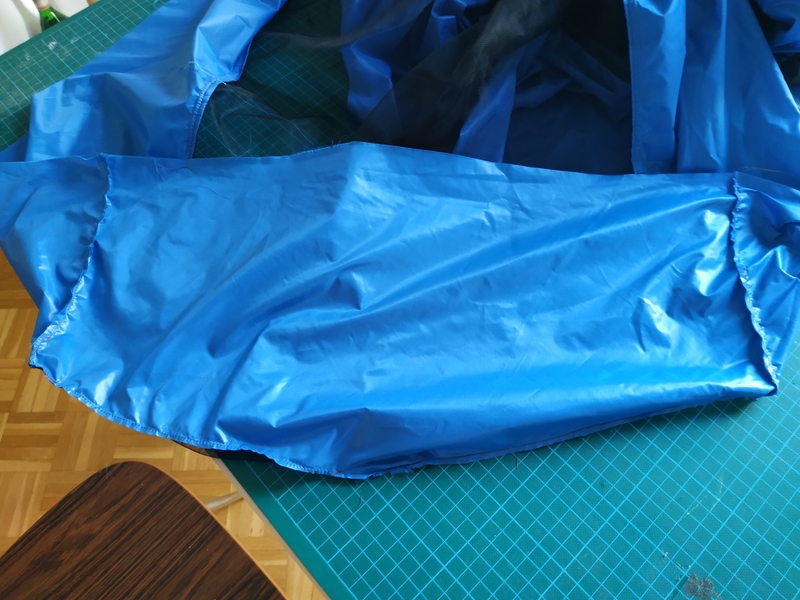
Next step was to take care of the bathtub. Bathtub fabric has two sides : one shiny and one dull. Dull side goes outside.
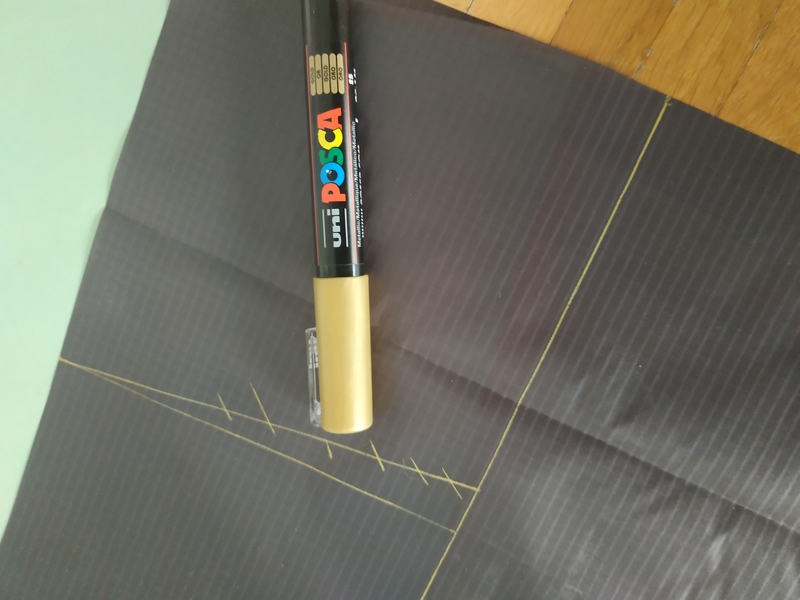
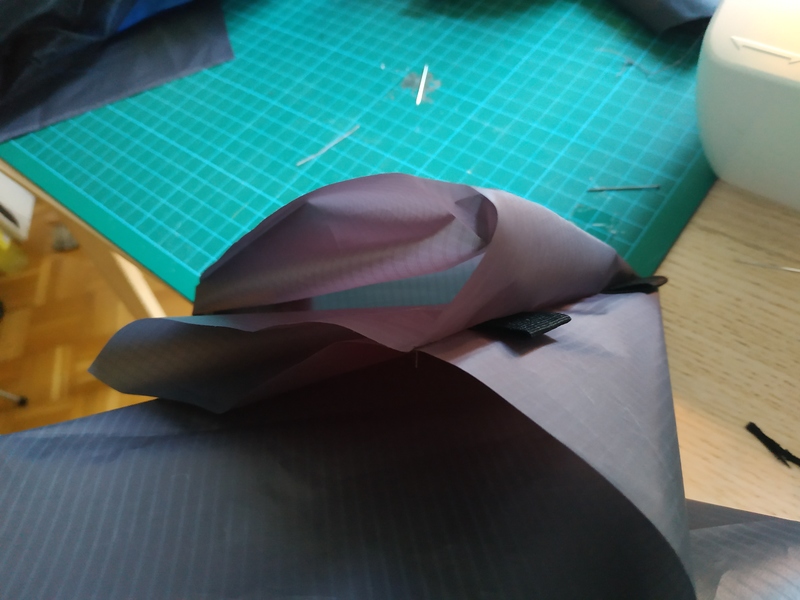
As you might have seen above in the article, when I cut the bathub fabric, I cut a big paralellogram. Now I needed to sew the corners to give it its shape.
First step for this was to draw on the fabric the position where it should be sewn together, using the computer pattern. I used a “POSCA” marker for that.
You can see in the picture below that I made a mistake drawing, fortunately it was an obvious one and I corrected it before sewing at the wrong place.
I made some webbing loops that will be used to pitch the bathub. No measurements here, made them to the size that felt right. There are 2 per corners, so 8 in total. In order to simplify sewing afterwards, I basted those loops at their future position with manual sewing. I’m not good at manual sewing and it shows. When positionning the one that will be on top (near the edge of the fabric), care must be taken to leave enough room for seam allowance that will be used later.
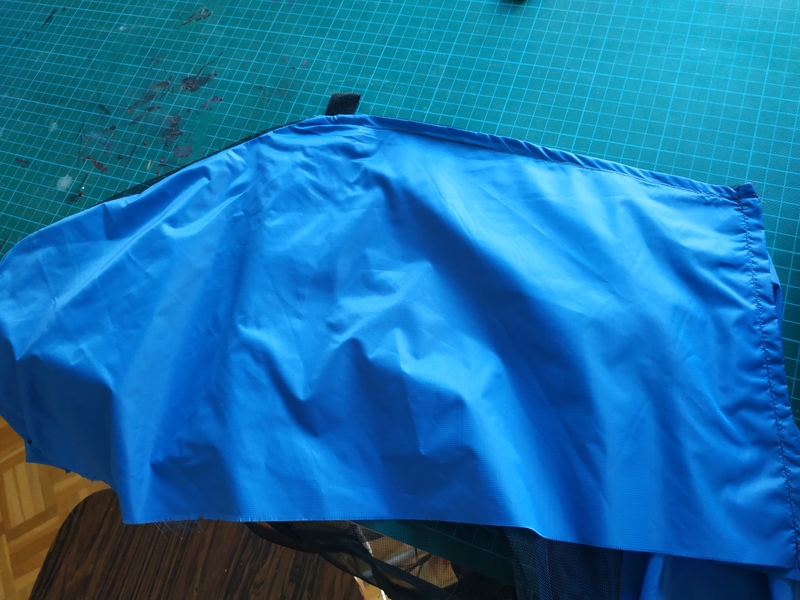
After that, I sewed the corners by following the lines I drew before. Once that was done, I turned the fabric insde-out and there was the result :
I turned the fabric inside-out again and reinforced a bit the webbing loop connection to the fabric.
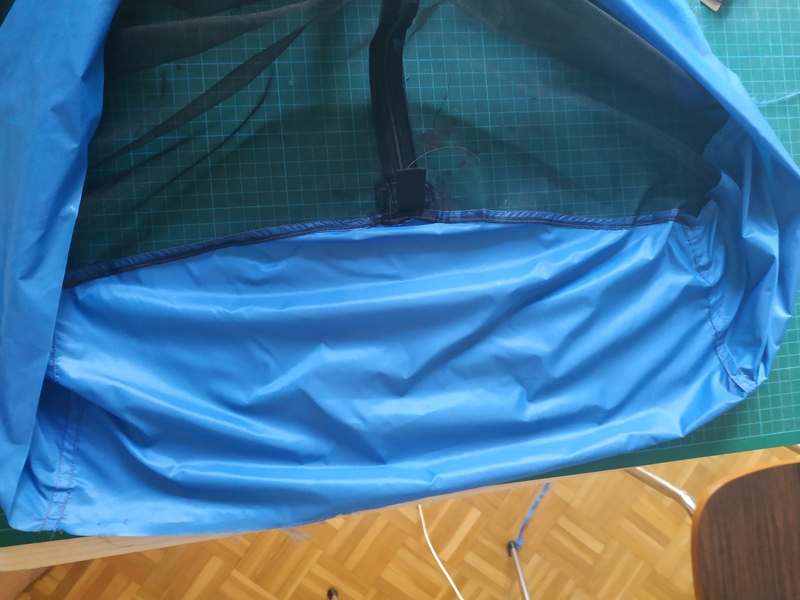
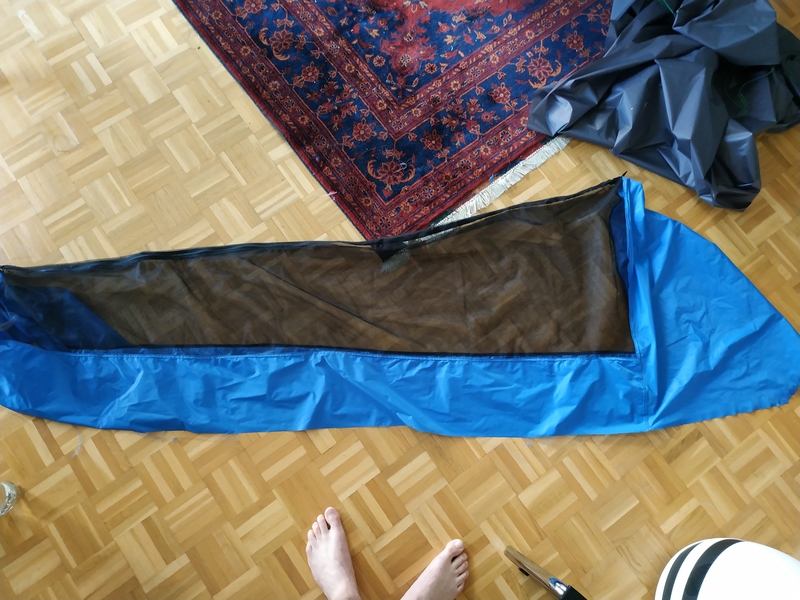
I then made a dry test of the bathub. Here’s the result :
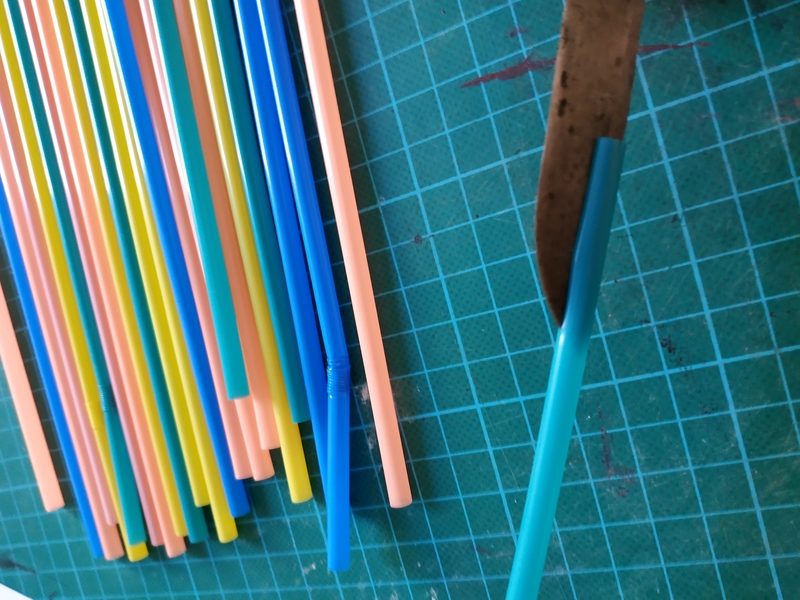
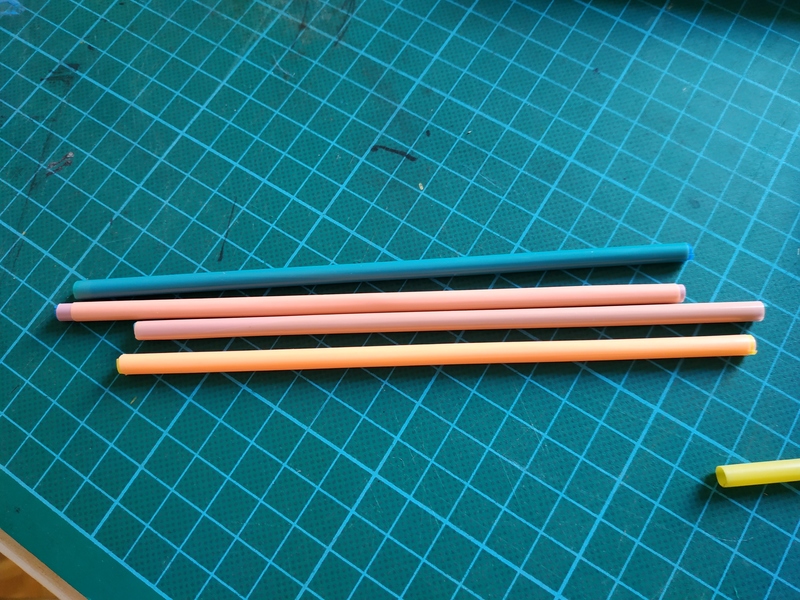
At this point, I decided to add some struts at each corners to help give the bathtub its shape. After some tests, I ended up using plastic drinking straws that I had lying around ( I was lucky, it’s illegal in europe now !). I made the struts by sliding 3 straws inside one, so 4 layers of straws in total. To insert the straws inside the others, I slit them in their length.

Once those were done, I sewed a channel in each corner to hold the struts. I used the zipper foot for this, it worked pretty well. At this point I left both openning open. The top openning will be closed in subsequent steps when sewing the top part of the tent to the bathtub.
New test of the bathtub with the struts, the shape is holding quite better. It’s probably not necessary for the tent functionnality, but it looks good so heh :
Then I made some pockets for the inside of the tent. No pattern here either, I just cut a size that felt right for the pockets. I made one for each sides. Each weight around 2 grams, I think it’s worth it.

I drew some “schematics” to try to understand how I’d need to integrate the pocket in the seam. It needed to be sewn on the right side of the fabric.

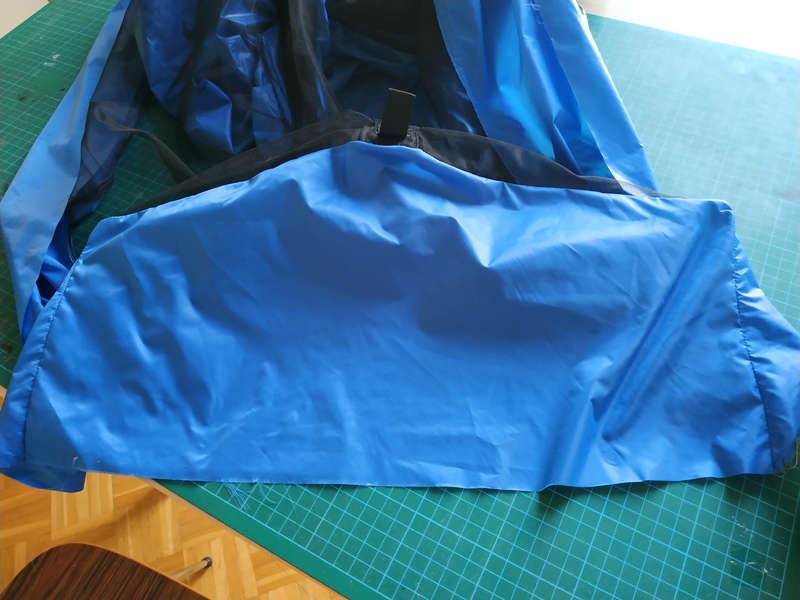
At this point, bathtub was ready.
Last step was to sew the bathtub to the top part.
Putting the two parts together :
Pinned together :
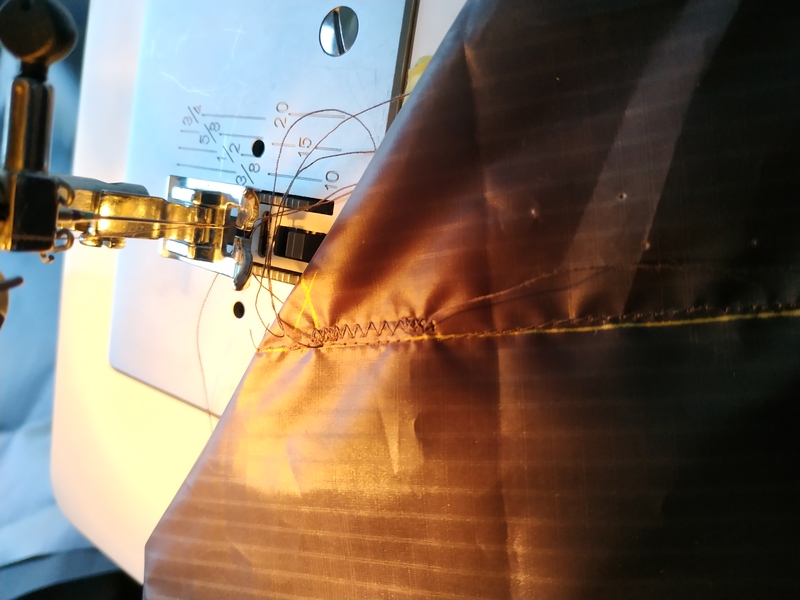
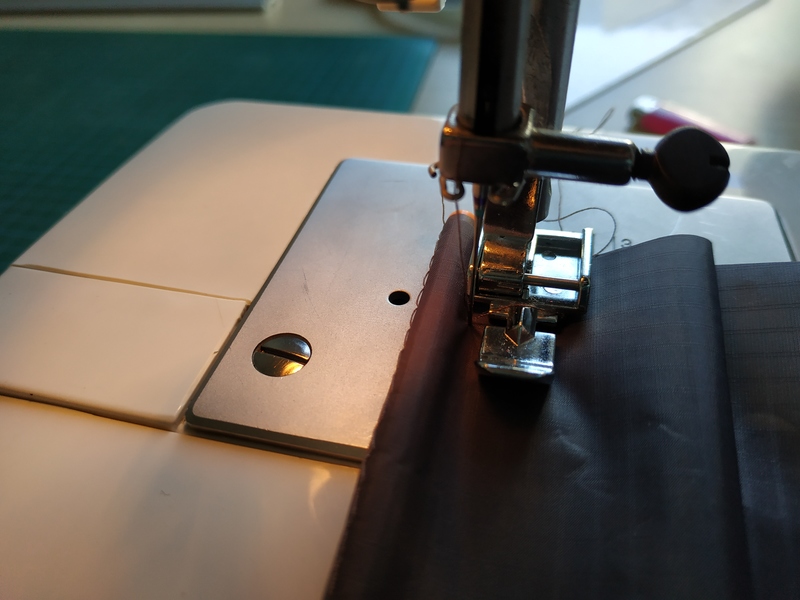
First stitch of the seam :
Last stitch of the last seam ! :
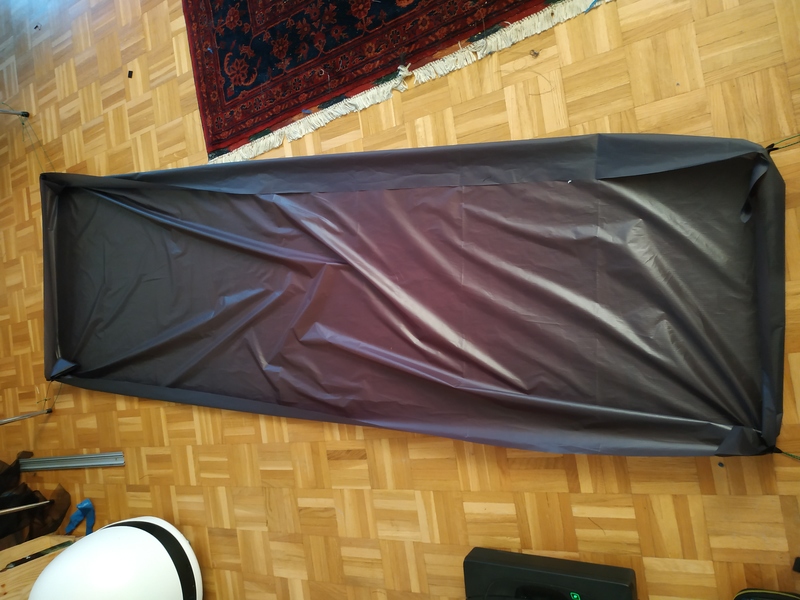
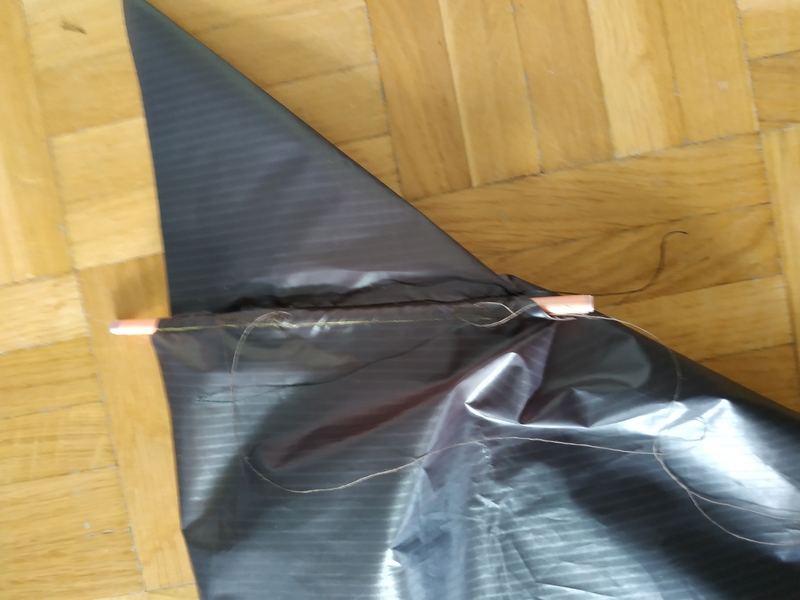
Last thing to do was to cut the struts to size :
First test inside :
Conclusion
Designing and making a piece of my own equipment was very rewarding !
For the design part, there are several things that I would change for a v2, but overall the process of using CAD helped me a lot to get thing right on the first physical attempt. However, CAD does not do everything : it doesn’t gives you the order in which pannels should be sewn, it does not take into account seam allowances and weird things that happen at corners when sewing. It’s a big help nonetheless. To critize the design itself, biggest design flaw I see is the feet part, a simple triangle would hold tension better than the shape I did. However the extra not-so-taught space might be a good thing for once you’re inside the tent. I suspect this is the reason MLD also made its bug bivy this way.
Learning to use CAD was interesting, it’s fun to be able to model things and interesting to see the challenges of building and using such software : I think this is particularily visible with FreeCAD, by its open source nature you can “see” and understand more of the underlying problematics of such software, through the software itself and also its community. The FreeCAD forum is a great place to get information.
Learning to sew was also very interesting. Sewing is not that hard, especially for camping gear where it’s not too bad if your stitches look ugly. It requires patience and pratice (on scraps !) though. It feels very empowering to be able to sew my own stuff and it opens up a world of possibilities !
I felt sewing was also a lesson about working with my errors : when I code something on a computer, I can start again as many times as necessary until it gets “perfect”. It’s different with sewing, your mistakes are there to stay and you must learn to work with them.
tl;dr : I really liked making this tent, will do again.
Ressources
All the patterns and CAD files and notes I produced are available on github. I did not clean them out particularily but they should be usable.
Comments
If you want to comment on the article above, you can do so on reddit